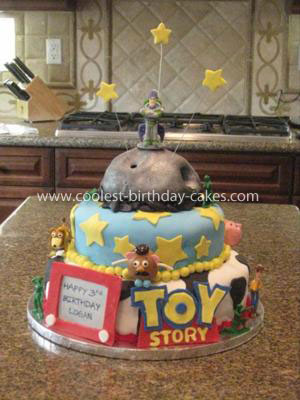
This Toy Story cake was for my 3 year old’s birthday. I spent alot of time browsing this site and got alot of great ideas! Thank you!
The bottom tier is a double layered, 12 inch round cake. You will need to use one entire box of cake mix for each layer. The middle tier is a double layered 9 inch round (just one cake mix split between the two pans) and the top layer I baked in the Wilton round ball baking pan (used to make basketballs, golf balls, etc) and only used one half of the ball. This cake fed approx 45 people.
After my cakes were all baked and cooled, I covered each one with a thin layer of frosting and put them in the fridge to set for 2 hrs. Next, I prepared the fondant. The bottom layer is white fondant rolled out to 1/8 in thick using PLENTY of cornstarch so it wouldn’t stick to my granite countertop. Once my fondant was ready, I lightly sprayed my cake with water which makes the fondant adhere better. The cow spots were made using a template I found online. I traced the spots onto cardboard and used that to place over black fondant to cut the desired shapes. Make sure you have an exacto knife, it will make this so much easier. Next, I just placed the spots in random areas to cover the entire cake.
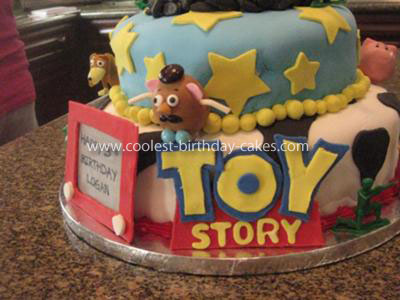
I repeated the same steps above for the middle tier, but it was a little easier since I already had a cookie cutter for the stars.
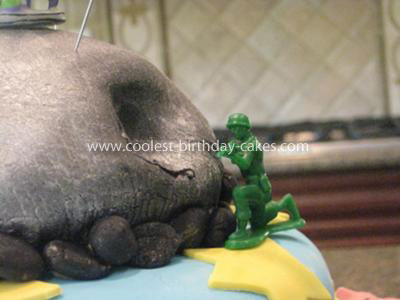
The top layer was covered in black fondant and then lightly brushed with an edible silver shimmer. The craters were just holes I dug out of the cake prior to covering it with fondant. The rocks along the bottom were a last minute addition because I didn’t roll out the fondant quite big enough and needed to cover up my mistake. I just formed little pieces of black fondant into different shapes and dusted them with a teeny tiny bit of silver shimmer. A little bit goes a long way!
For the Etch-a-sketch, I used a ruler to get a straight line and cut out a rectangle out of red fondant. Then, I just cut out tiny white circles for the knobs and a piece of white fondant for the screen. The screen I brushed with silver shimmer, then wrote on it with an edible ink pen. All the pieces were attached together with frosting, which needs to set overnight. Mabye royal icing would’ve worked better. The Toy Story logo was downloaded from the internet, traced onto cardboard and cut out with an exacto knife and attached with frosting. Finally, the shooting stars were made by attaching thick cut fondant starts to 20 gauge floral wire.
The decorations were bought at various party stores. The Mr. Potatohead and Hamm decorations were actually cake pops that a friend of mine made. You can easily find the diretions by searching the internet. Don’t forget to insert dowels into the bottom two layers to hold the weight of the cake without crushing it! Have fun!


Your comment has been sent successfully.