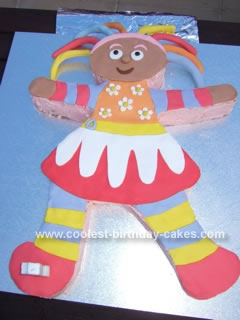
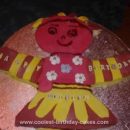
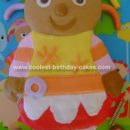
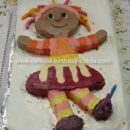
I started by printing a picture of Upsy Daisy that I downloaded off the internet and then I enlarged it to be the actual cake size on the photocopier. I then cut the template out and placed it on the slab of butter cake that I had baked and cut out the shapes. I cut the head, body, arms and legs as separate pieces then placed them together on the cake board.
I then spread butter cream icing which I coloured pale pink all over the cake. I used ready to roll icing which I purchased from a cake decorating shop for the top decoration of the cake. Using various oil based dyes I coloured all of the icing in different colours. I wrapped the coloured icing in glad wrap to keep it fresh from drying out while I worked on the cake.
I rolled the icing with my rolling pin and cut the individual shapes using a second copy of my printed templates as a guide. The centre of the eyes and the centre of the daisy flowers were mini m&m’s. The hair was made by rolling thick pieces of the icing and leaving it to dry so it was stiff. Just prior to presenting the homemade Upsy Daisy birthday cake I used toothpicks poked into the ends of the hair pieces to attach it to the top of the head.

Your comment has been sent successfully.