It is coming up to my little ones 4th birthday, we always have big parties as an excuse to gather all our friends and family together for one big event every year. With little one starting school in September and her little friends all heading off in different directions, I wanted this one to be special. One way to do this, would be to make the cake!
I make lots of cakes at home but have never made any for others or any that I have decorated before. I started by visiting a local cake decorating shop and checking out the equipment. I came home with a rather large bag containing various shaped cutters, packs of sugar paste icing, rollers and all sorts of fun looking gadgets. I had a play icing some biscuits and had some problems with the icing either sticking very badly to the board and tearing or getting covered in icing sugar and getting crumbly. At this point I was very concerned about the decision to make this ambitious cake!
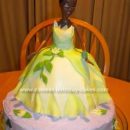
I began to search the internet for tips and ideas and found some good videos demonstrating how to make a doll princess cake. I then used this website for inspirational decorating ideas and last Sunday felt brave enough to give it a go.
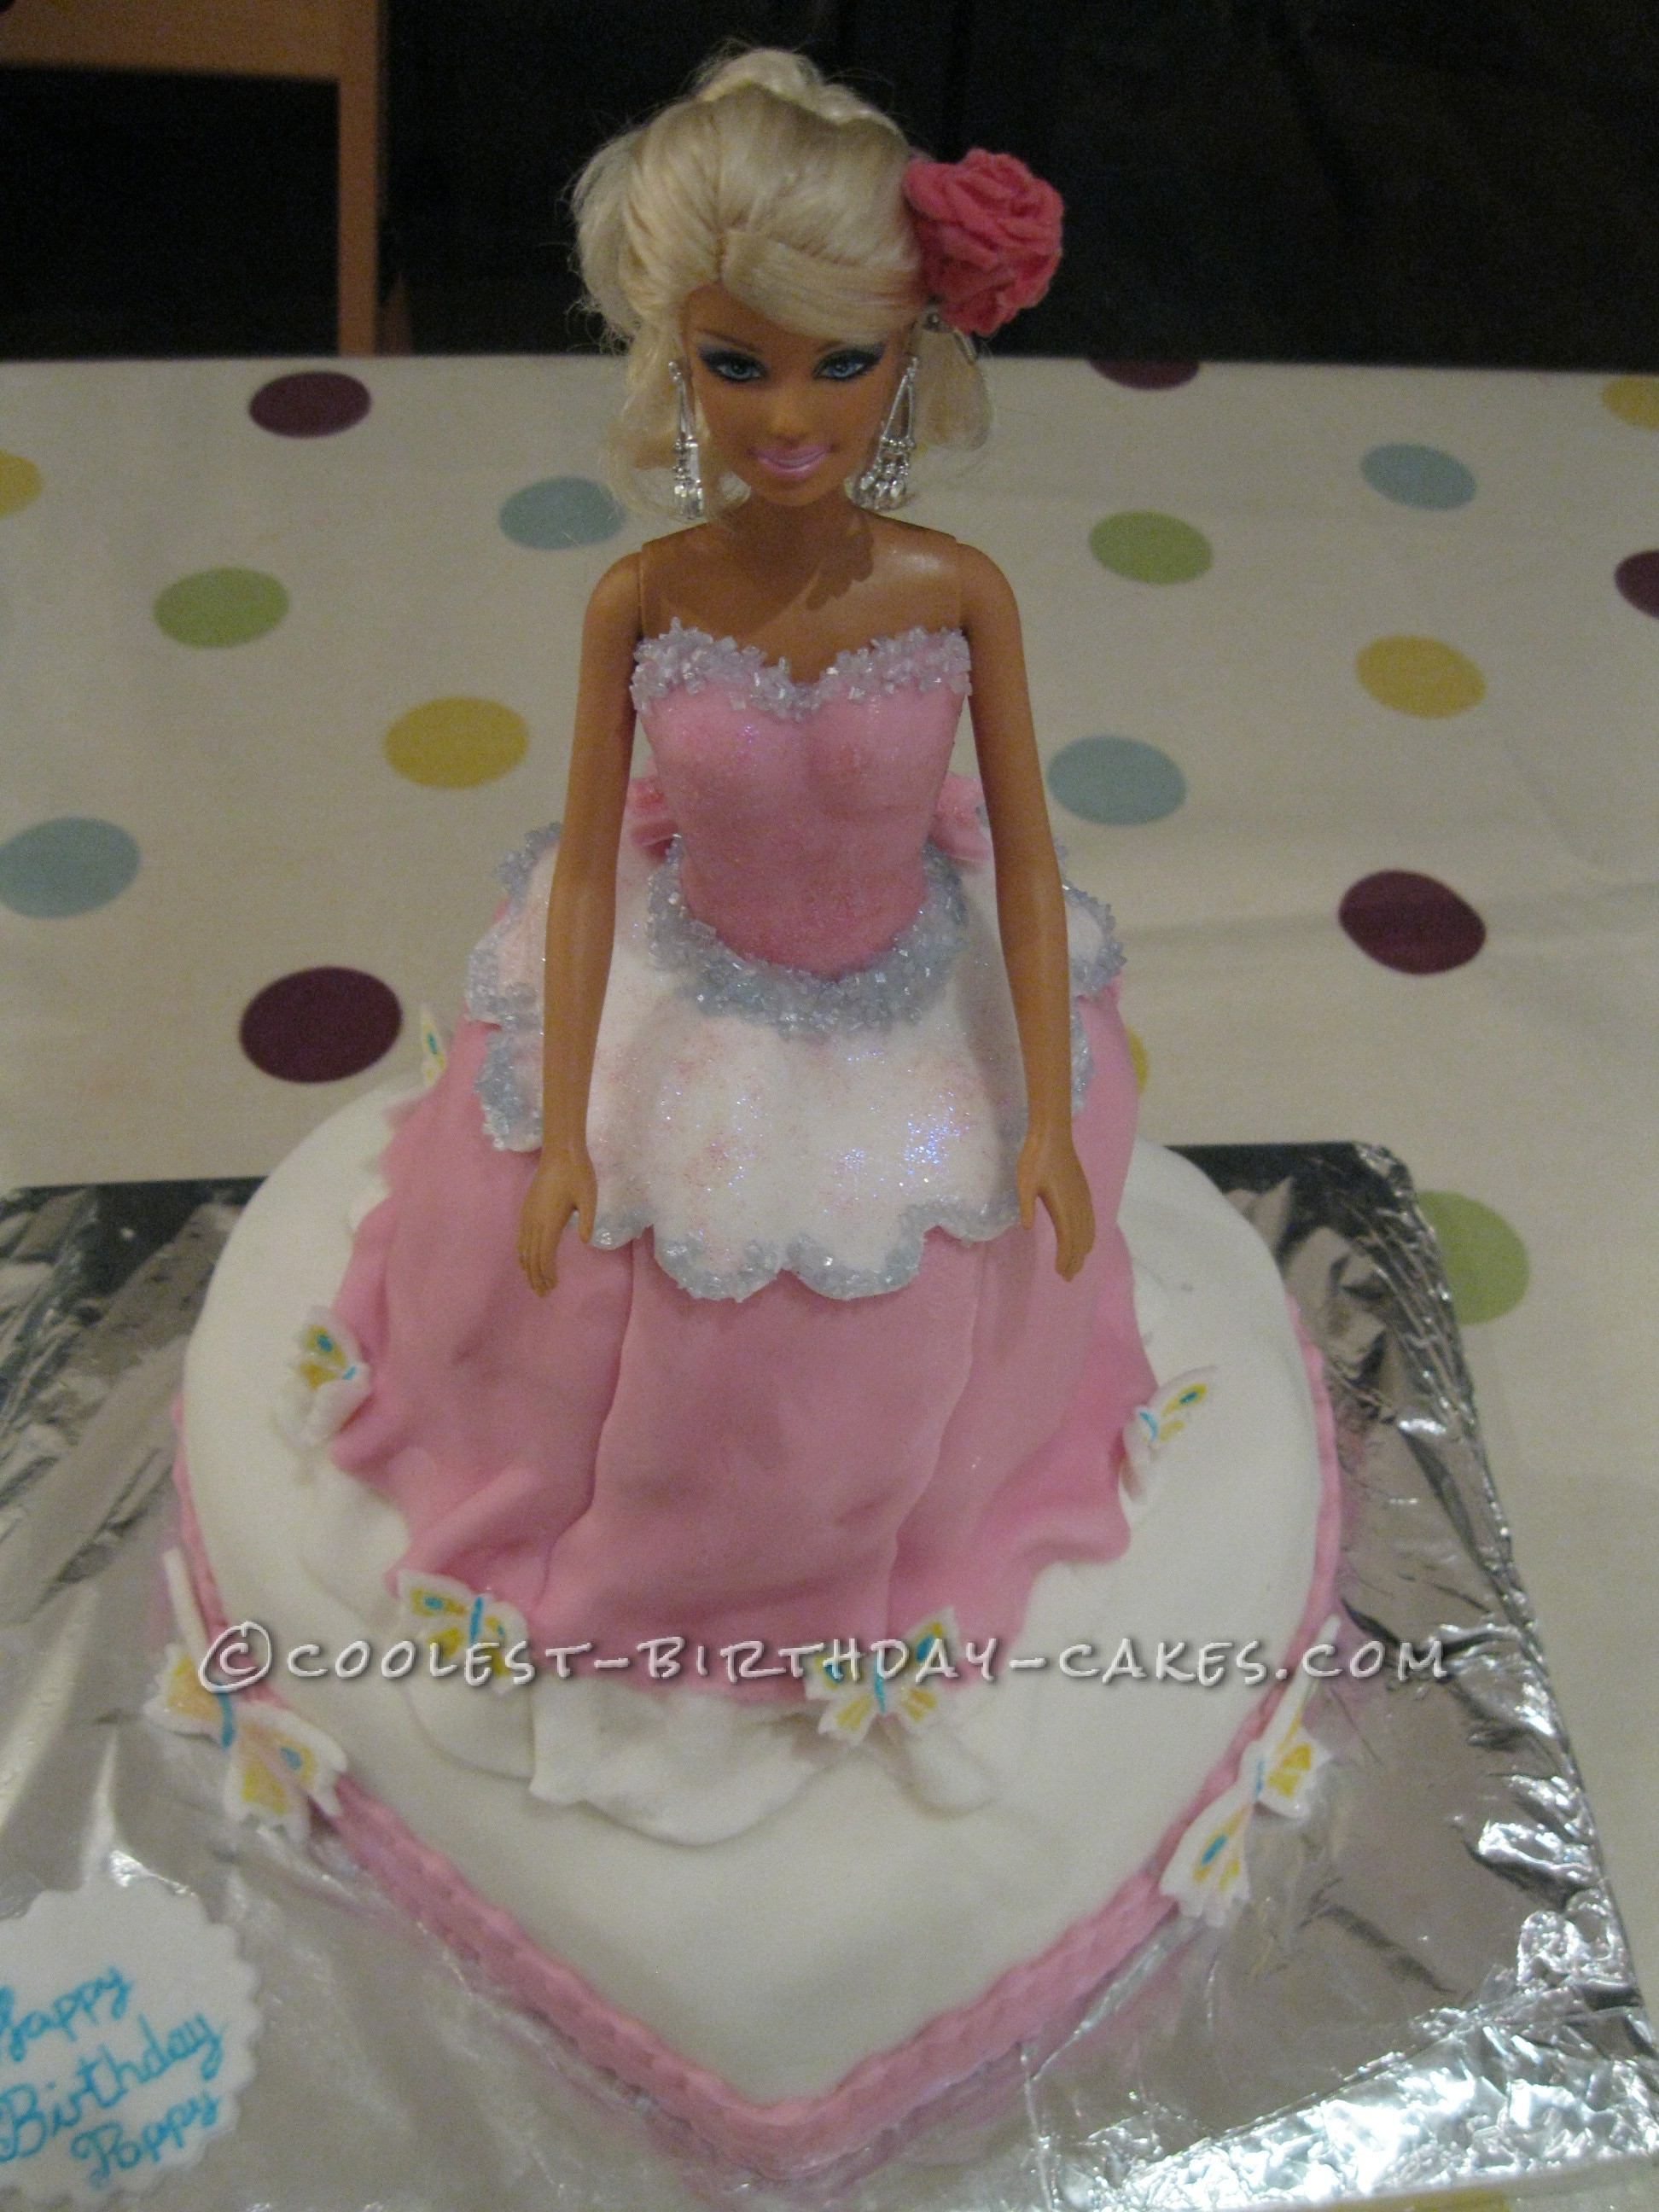
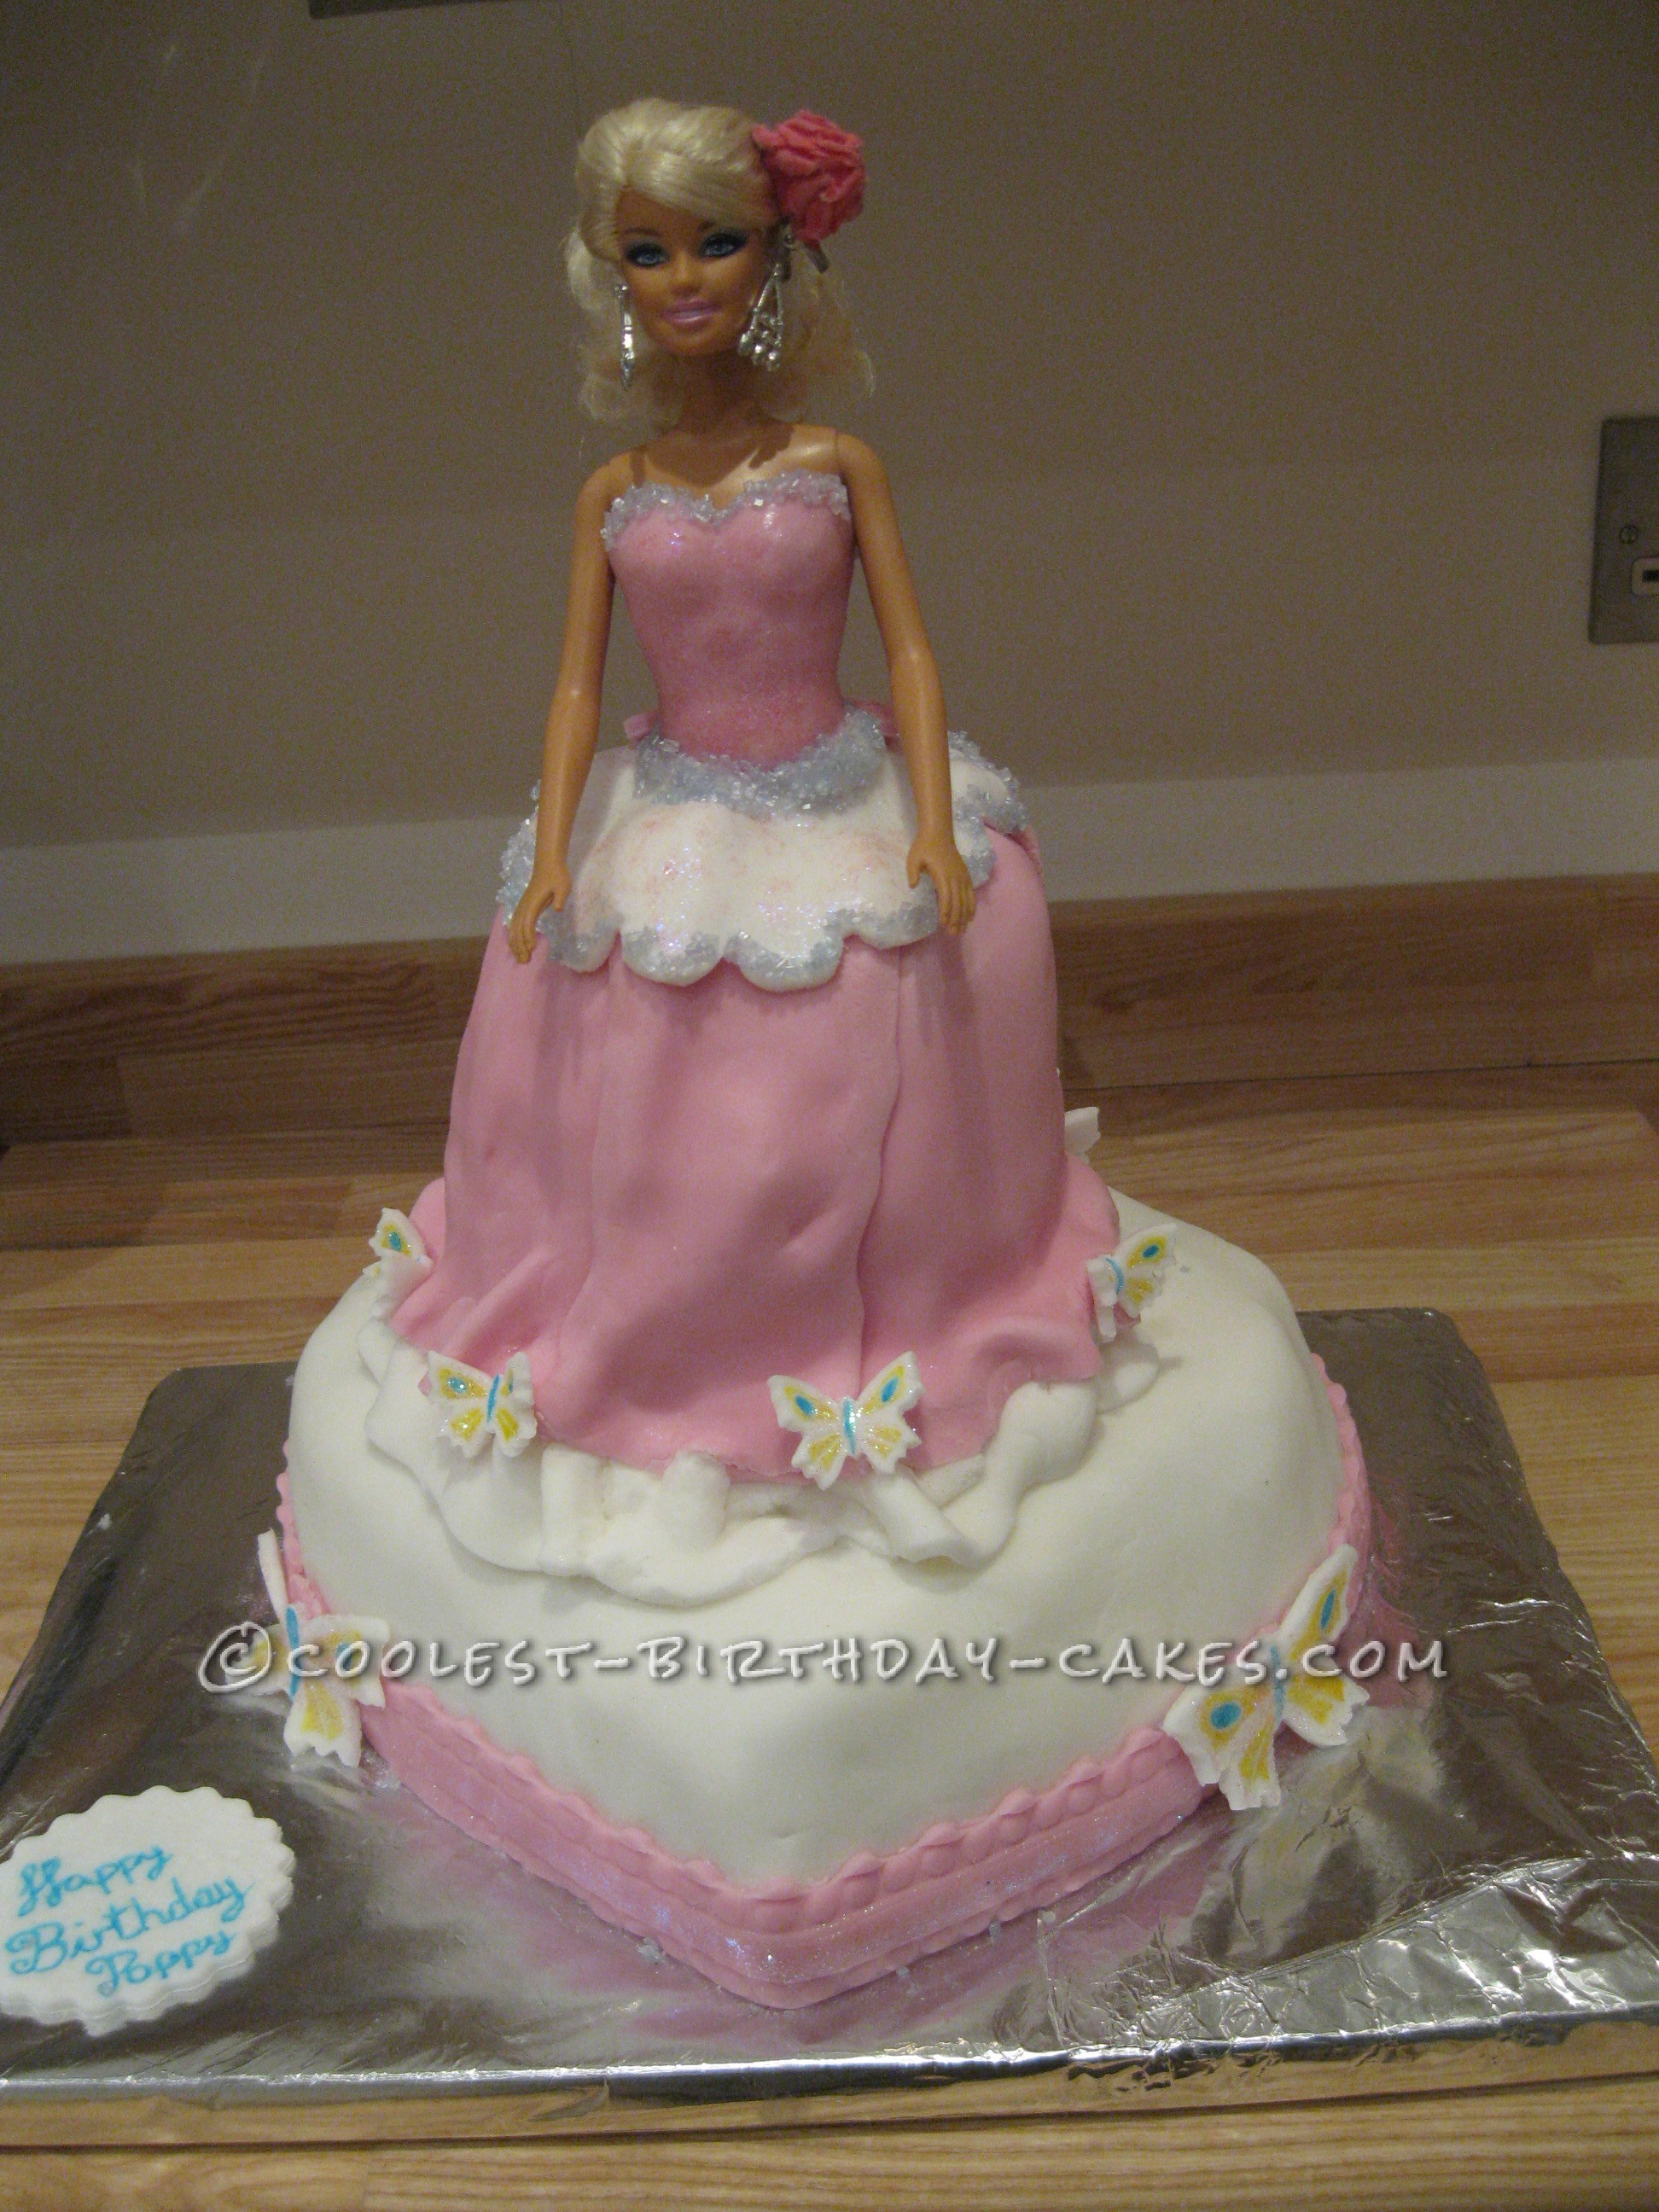
First, I got a variety of bowls and jugs and measured them against my dolls legs to check the length of the dress. I found a tall measuring jug to be the best. However, it wouldn’t make a very large cake so I would need to mount this cake on to another, for this I chose a heart as I thought it would be cute (and I have a great silicon, nonstick heart mold that never fails!).
Next, I made the massive cake mix and baked the cakes and left to cool. The jug one needed the top chopping off as it was rolling around too much on the cooling rack. Whilst they were cooling I made the butter cream which I dyed yellow. It was a bit more vibrant than I had originally planned having a kind of a luminous quality. I used this to thoroughly coat the cake when it was completely cool. This went into the fridge to set. Now for the fun bit.
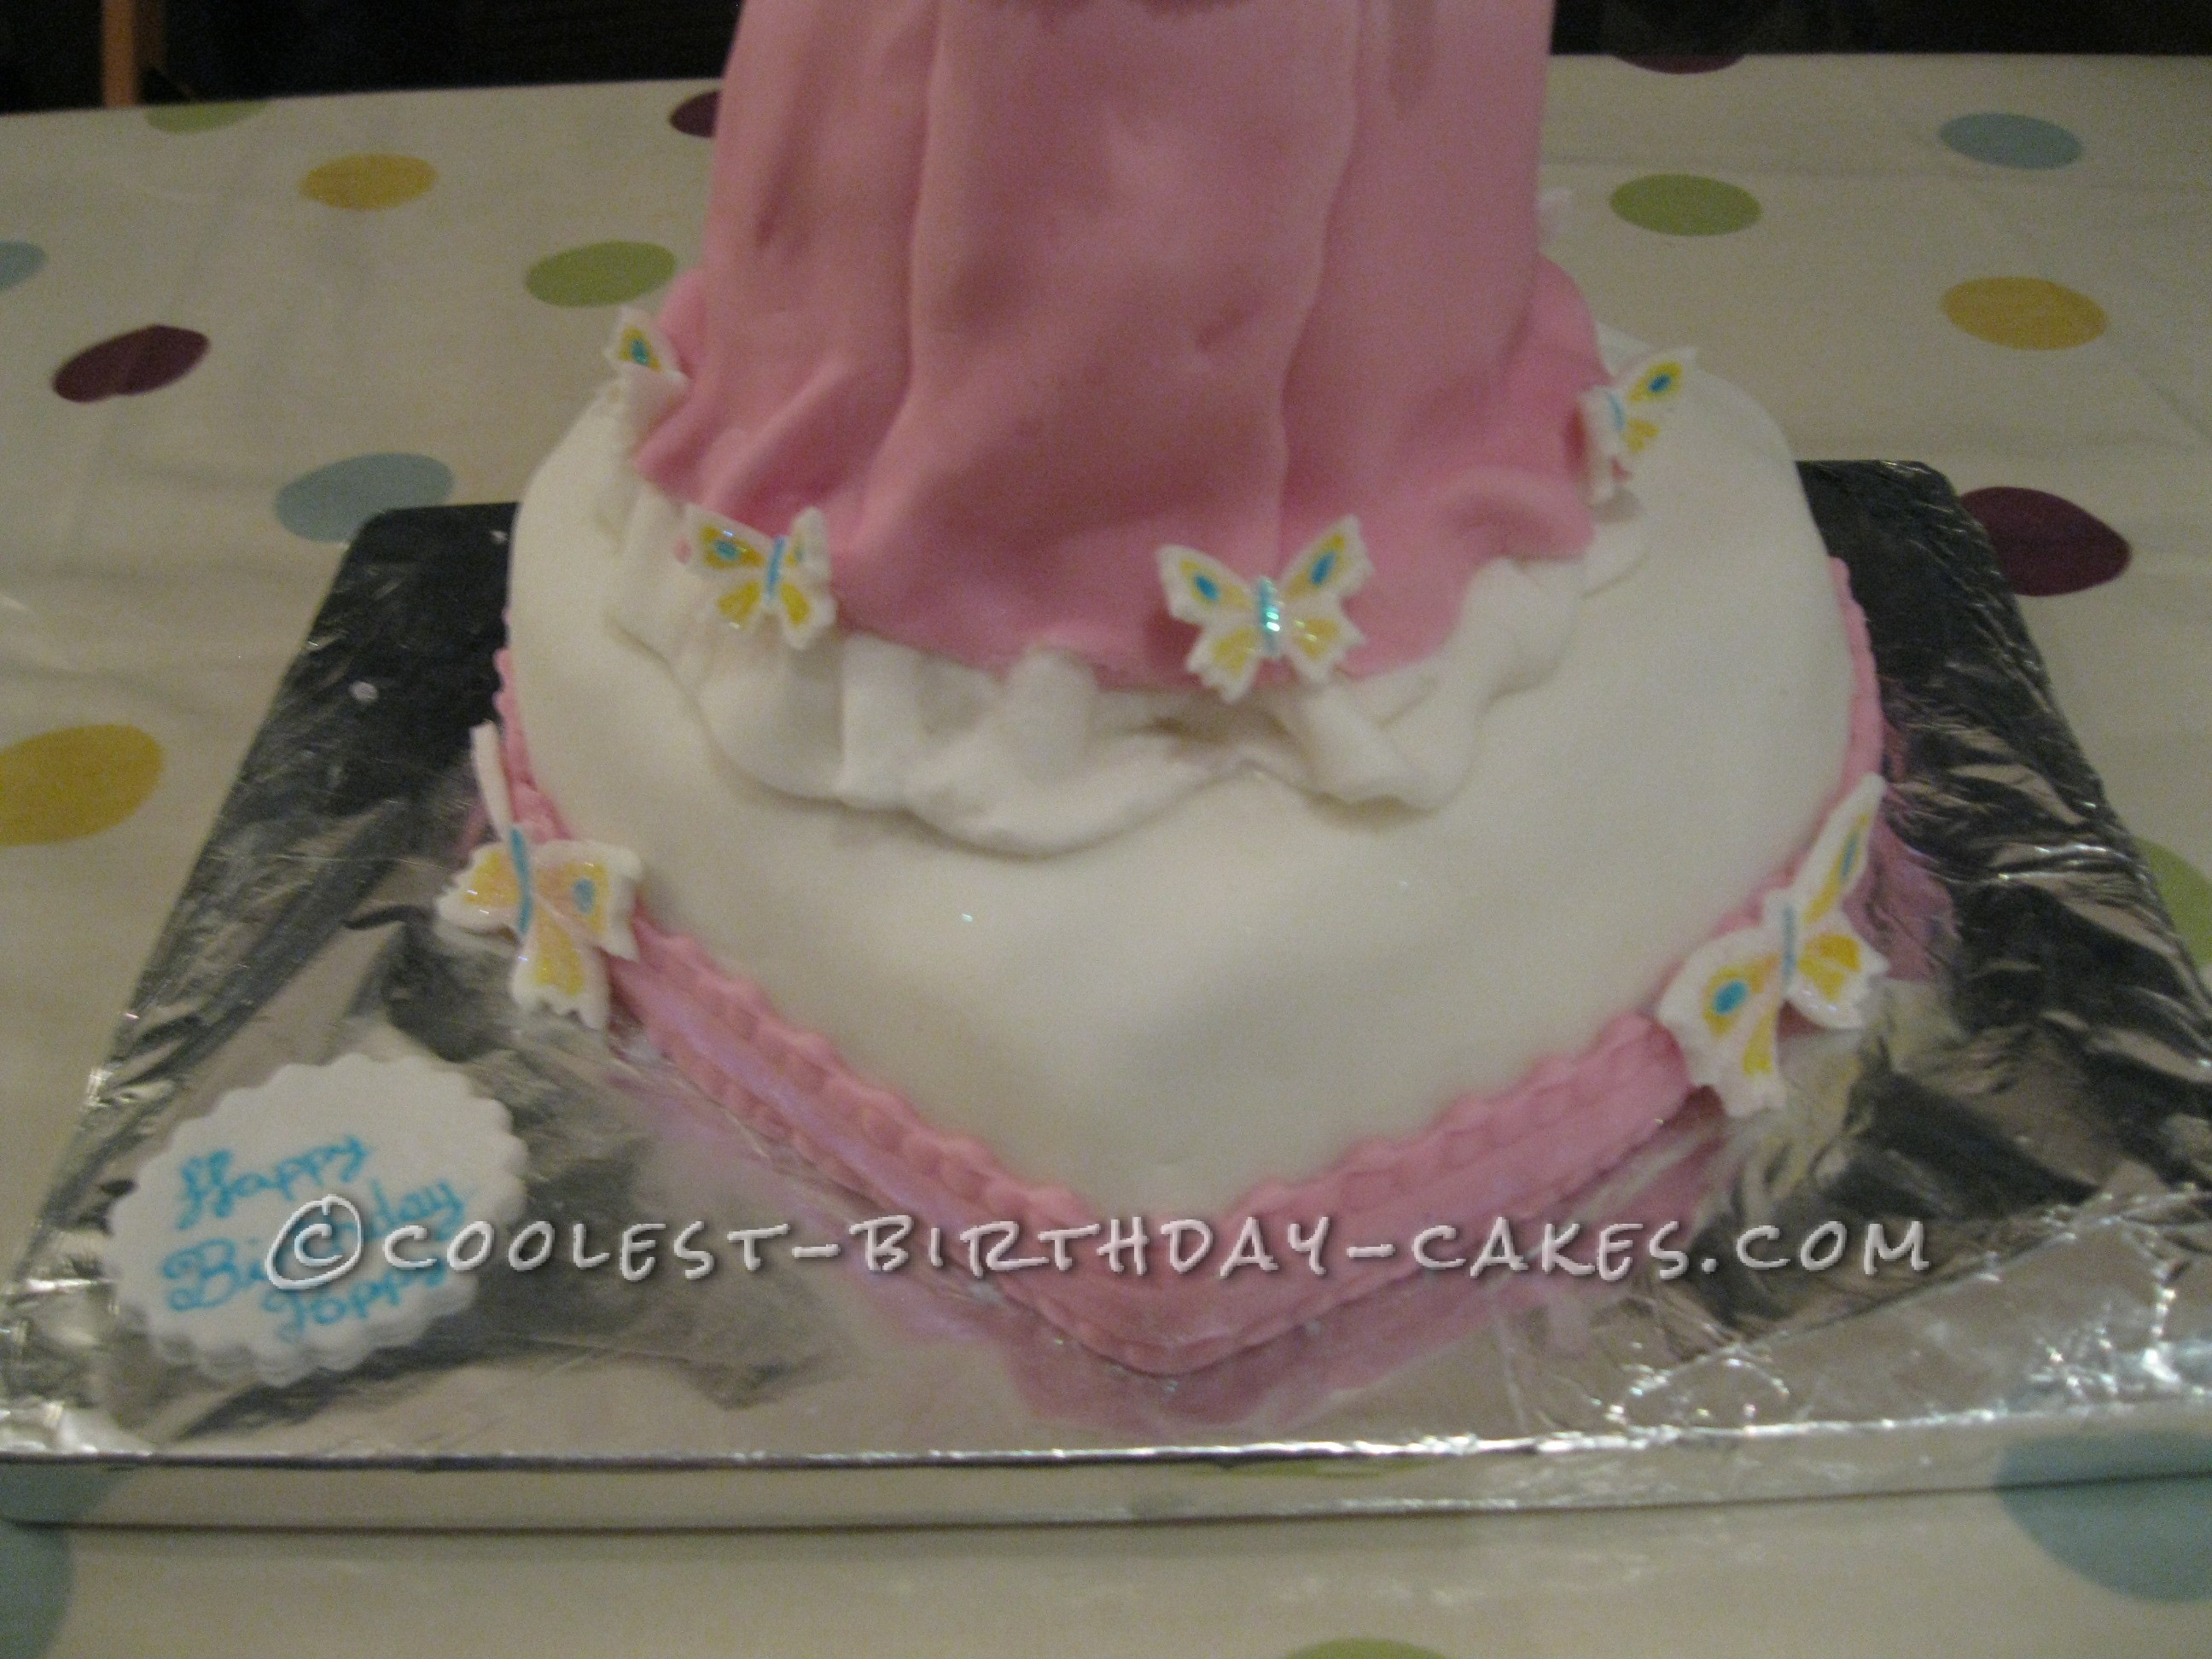
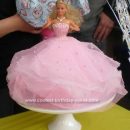
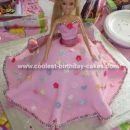
I started with the white, covering the heart cake. This time I rolled the icing on my oilcloth table cloth (thoroughly cleaned and antibacterialed). This time it didn’t stick! It was a little lumpy but with a few precisely placed decors I could cover the worst. I also made the white frill for the skirt.
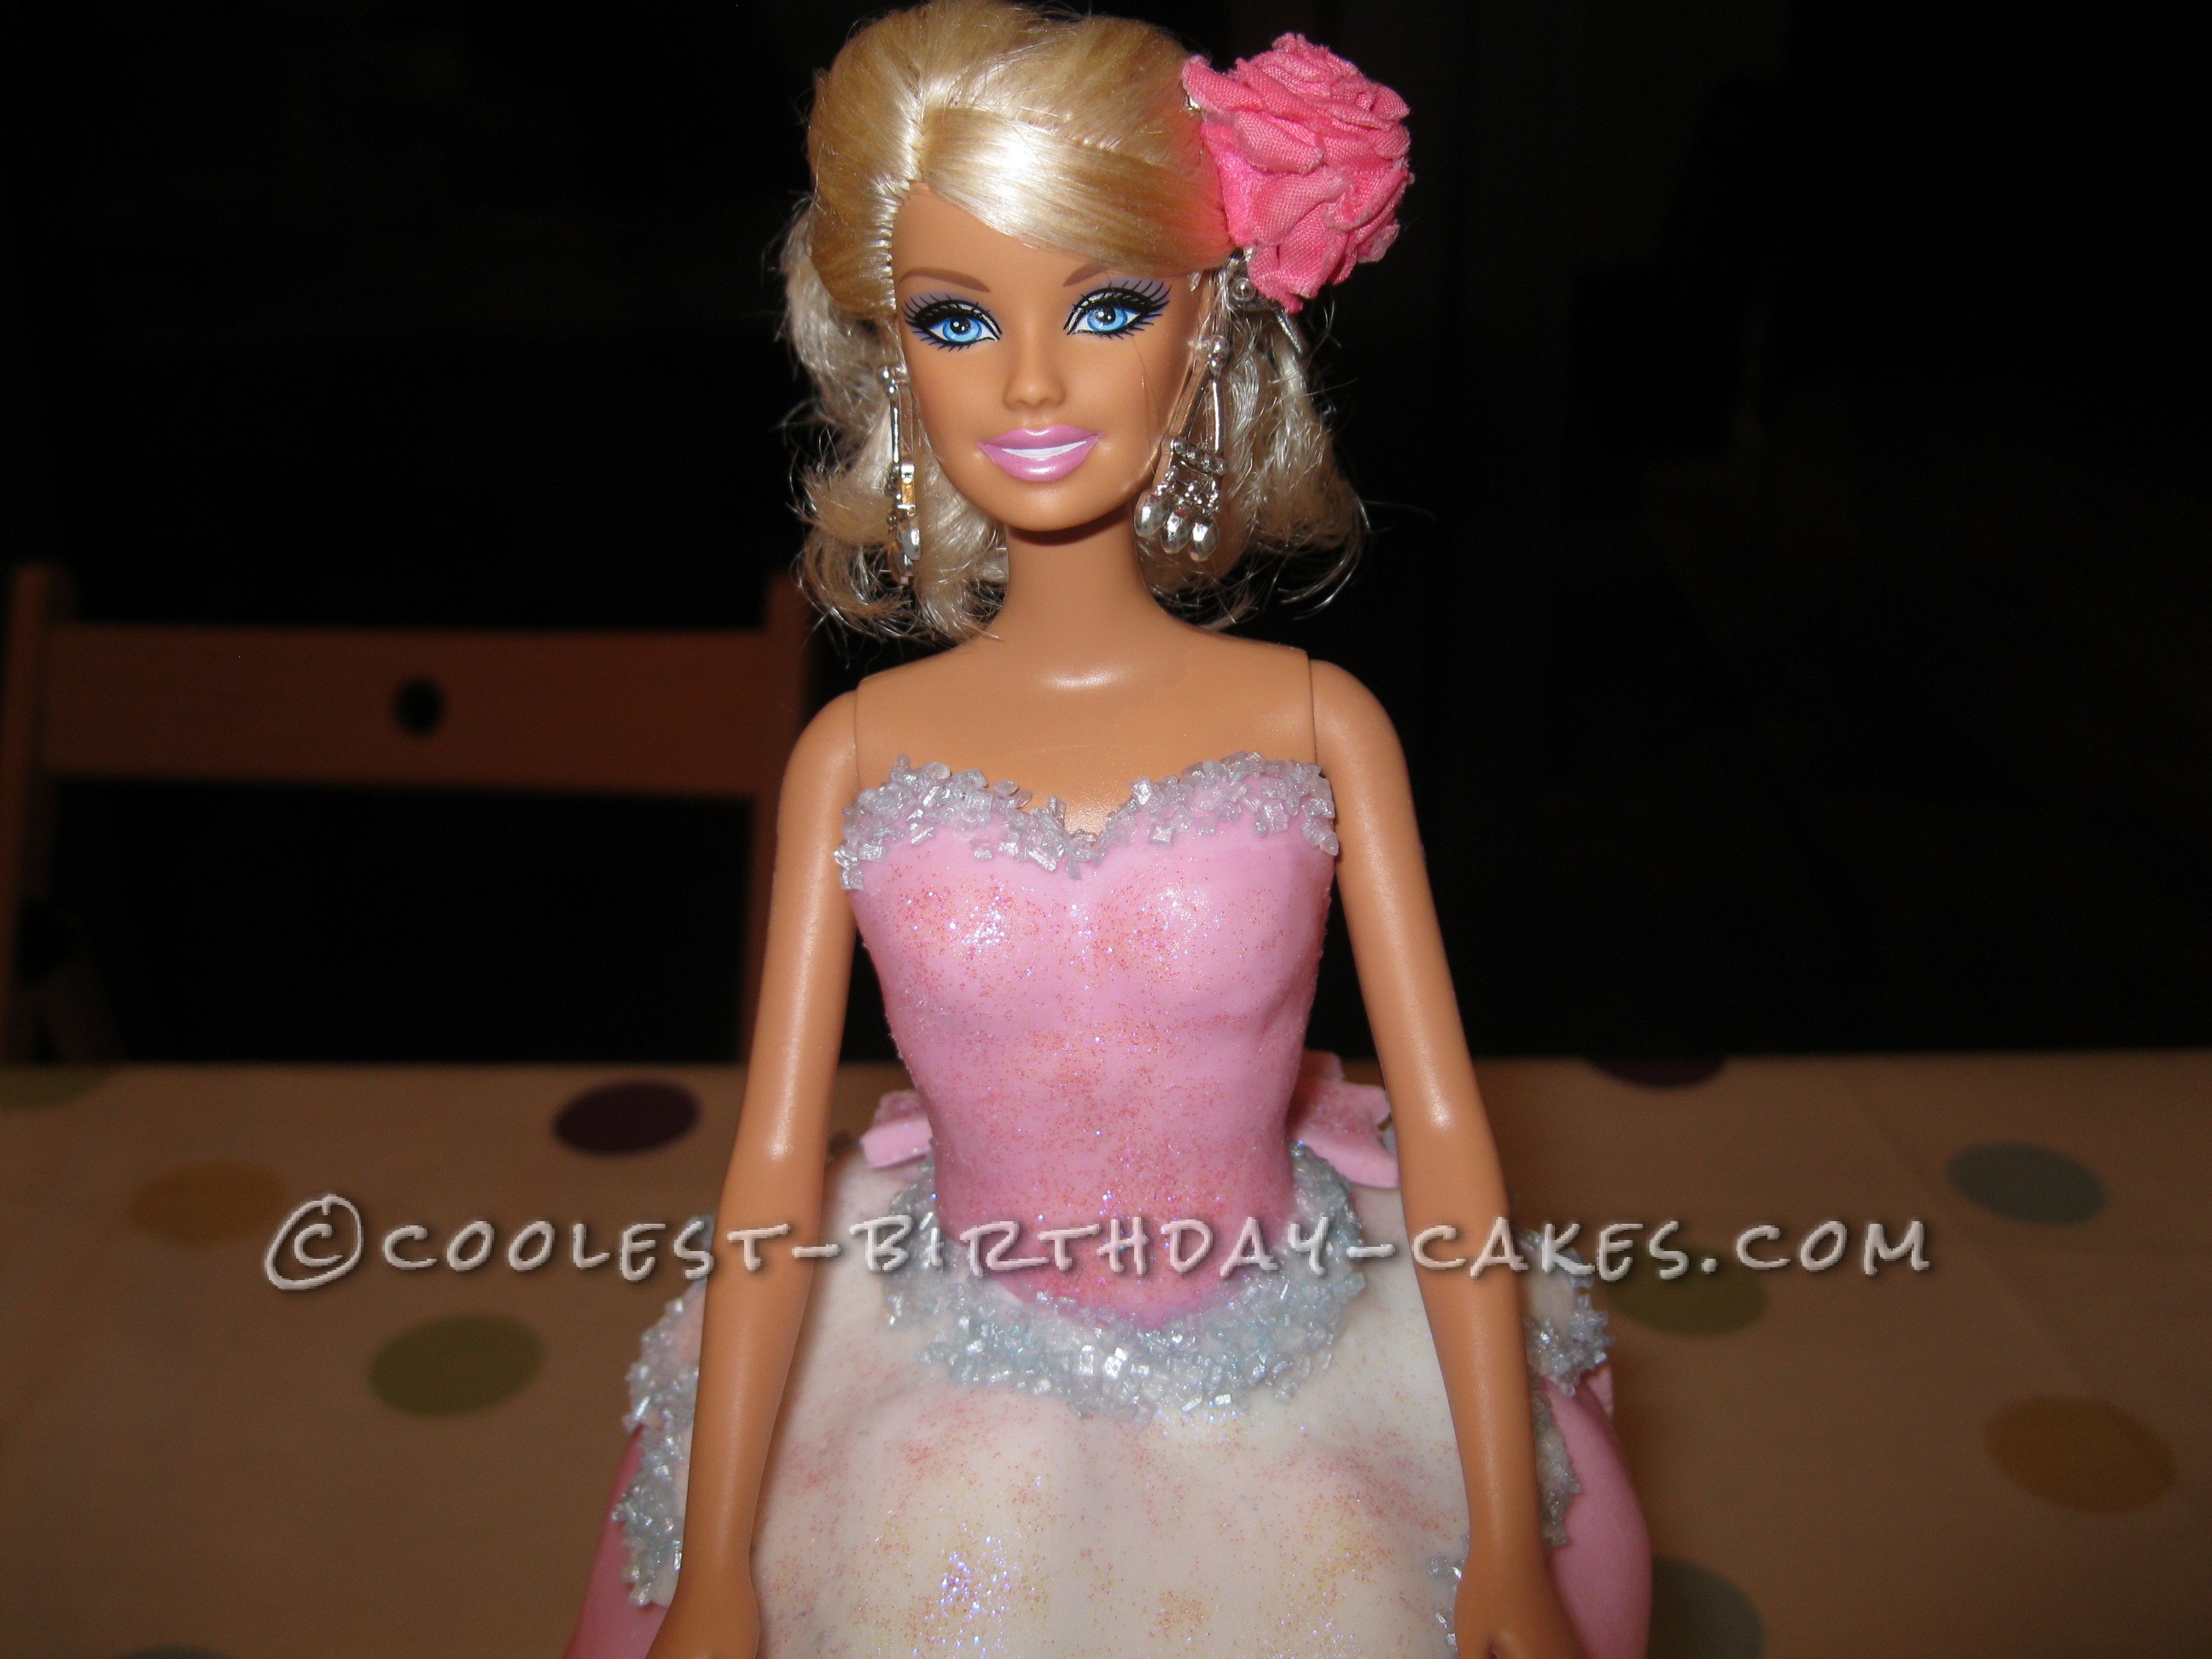
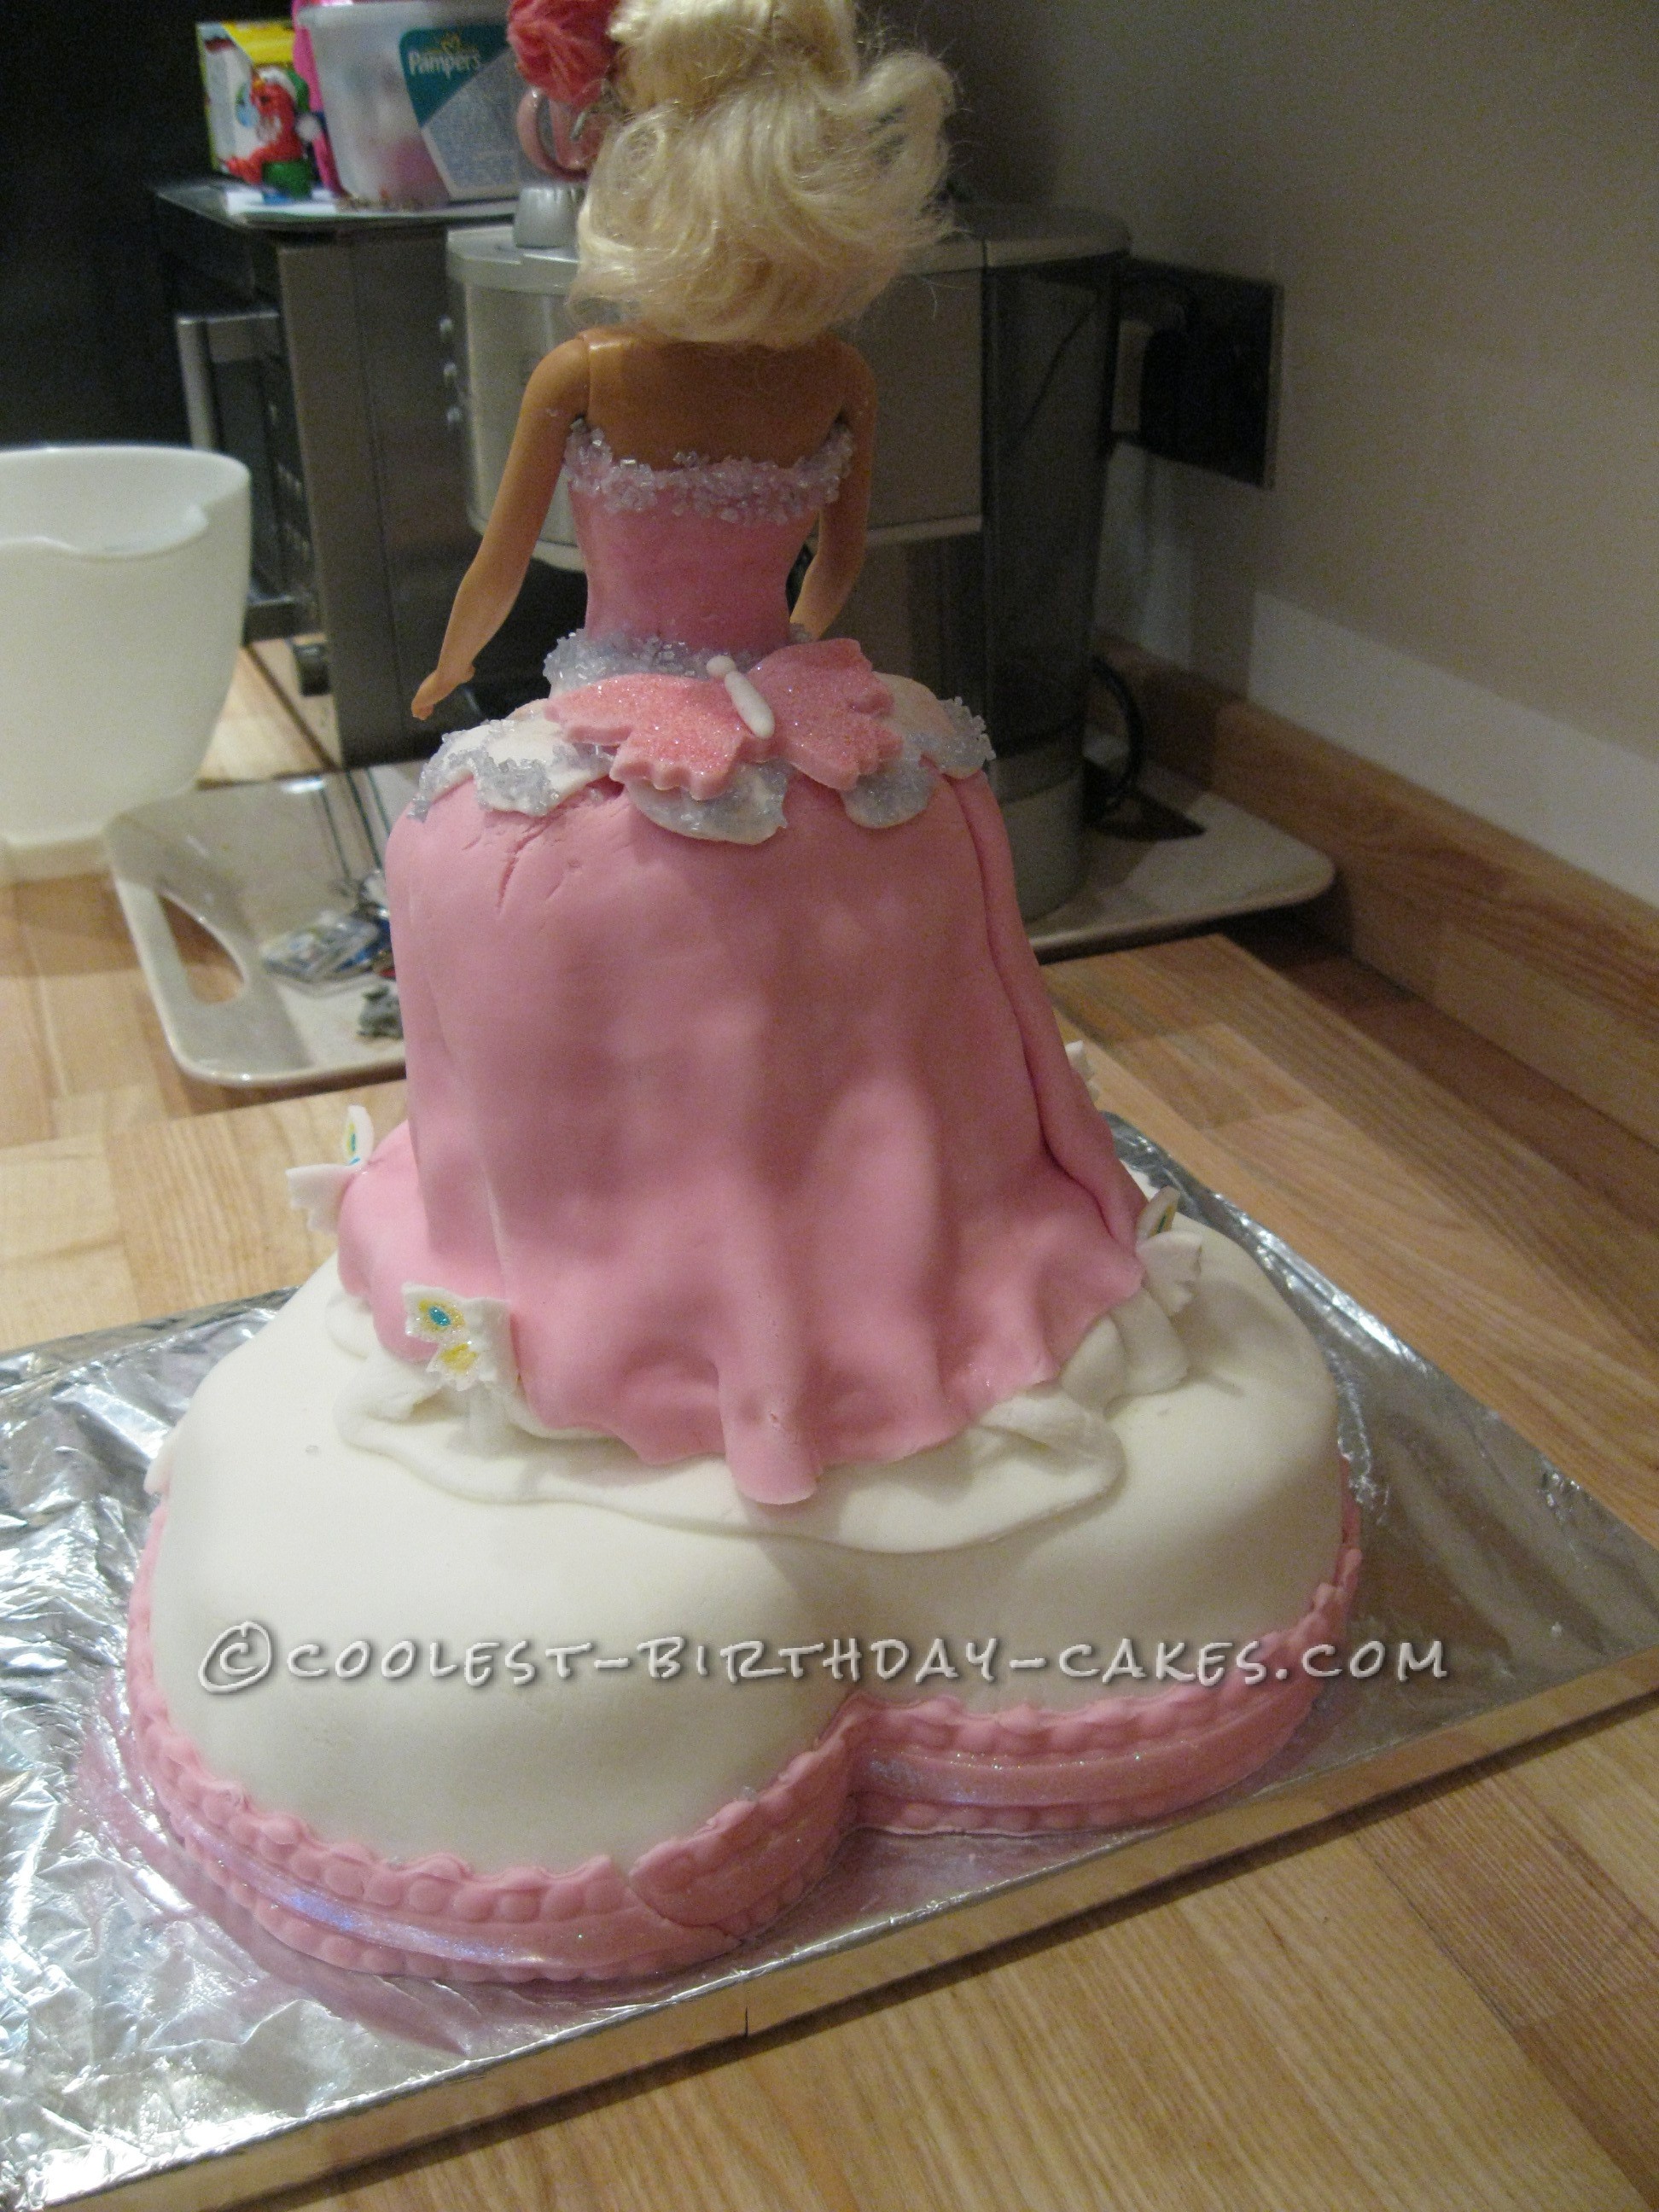
Then the pink, cut into rectangles were laid around the skirt and pleated on top of the white. Again, there were a couple of cracks and tears but nothing that couldn’t be covered with a butterfly or two. I also made the clothes for the doll. Whilst rolling this out, it was perfectly flat a smooth and I had aching arms when little one ran in a poked five digits right into the middle of it! Aaargh, start again. On the final version I painted on some edible glitter with a wet brush and then applied to the doll.
Now came the time to insert the doll. I had cut holes out of the middle of the skirt cake with a circular cookie cutter. The doll had her bottom half wrapped in cling film in preparation and I just wedged her in the hole. It did take a bit of force as her legs were a little longer than the skirt cake, they are now firmly implanted into the base cake, I guess that can only help with stability?
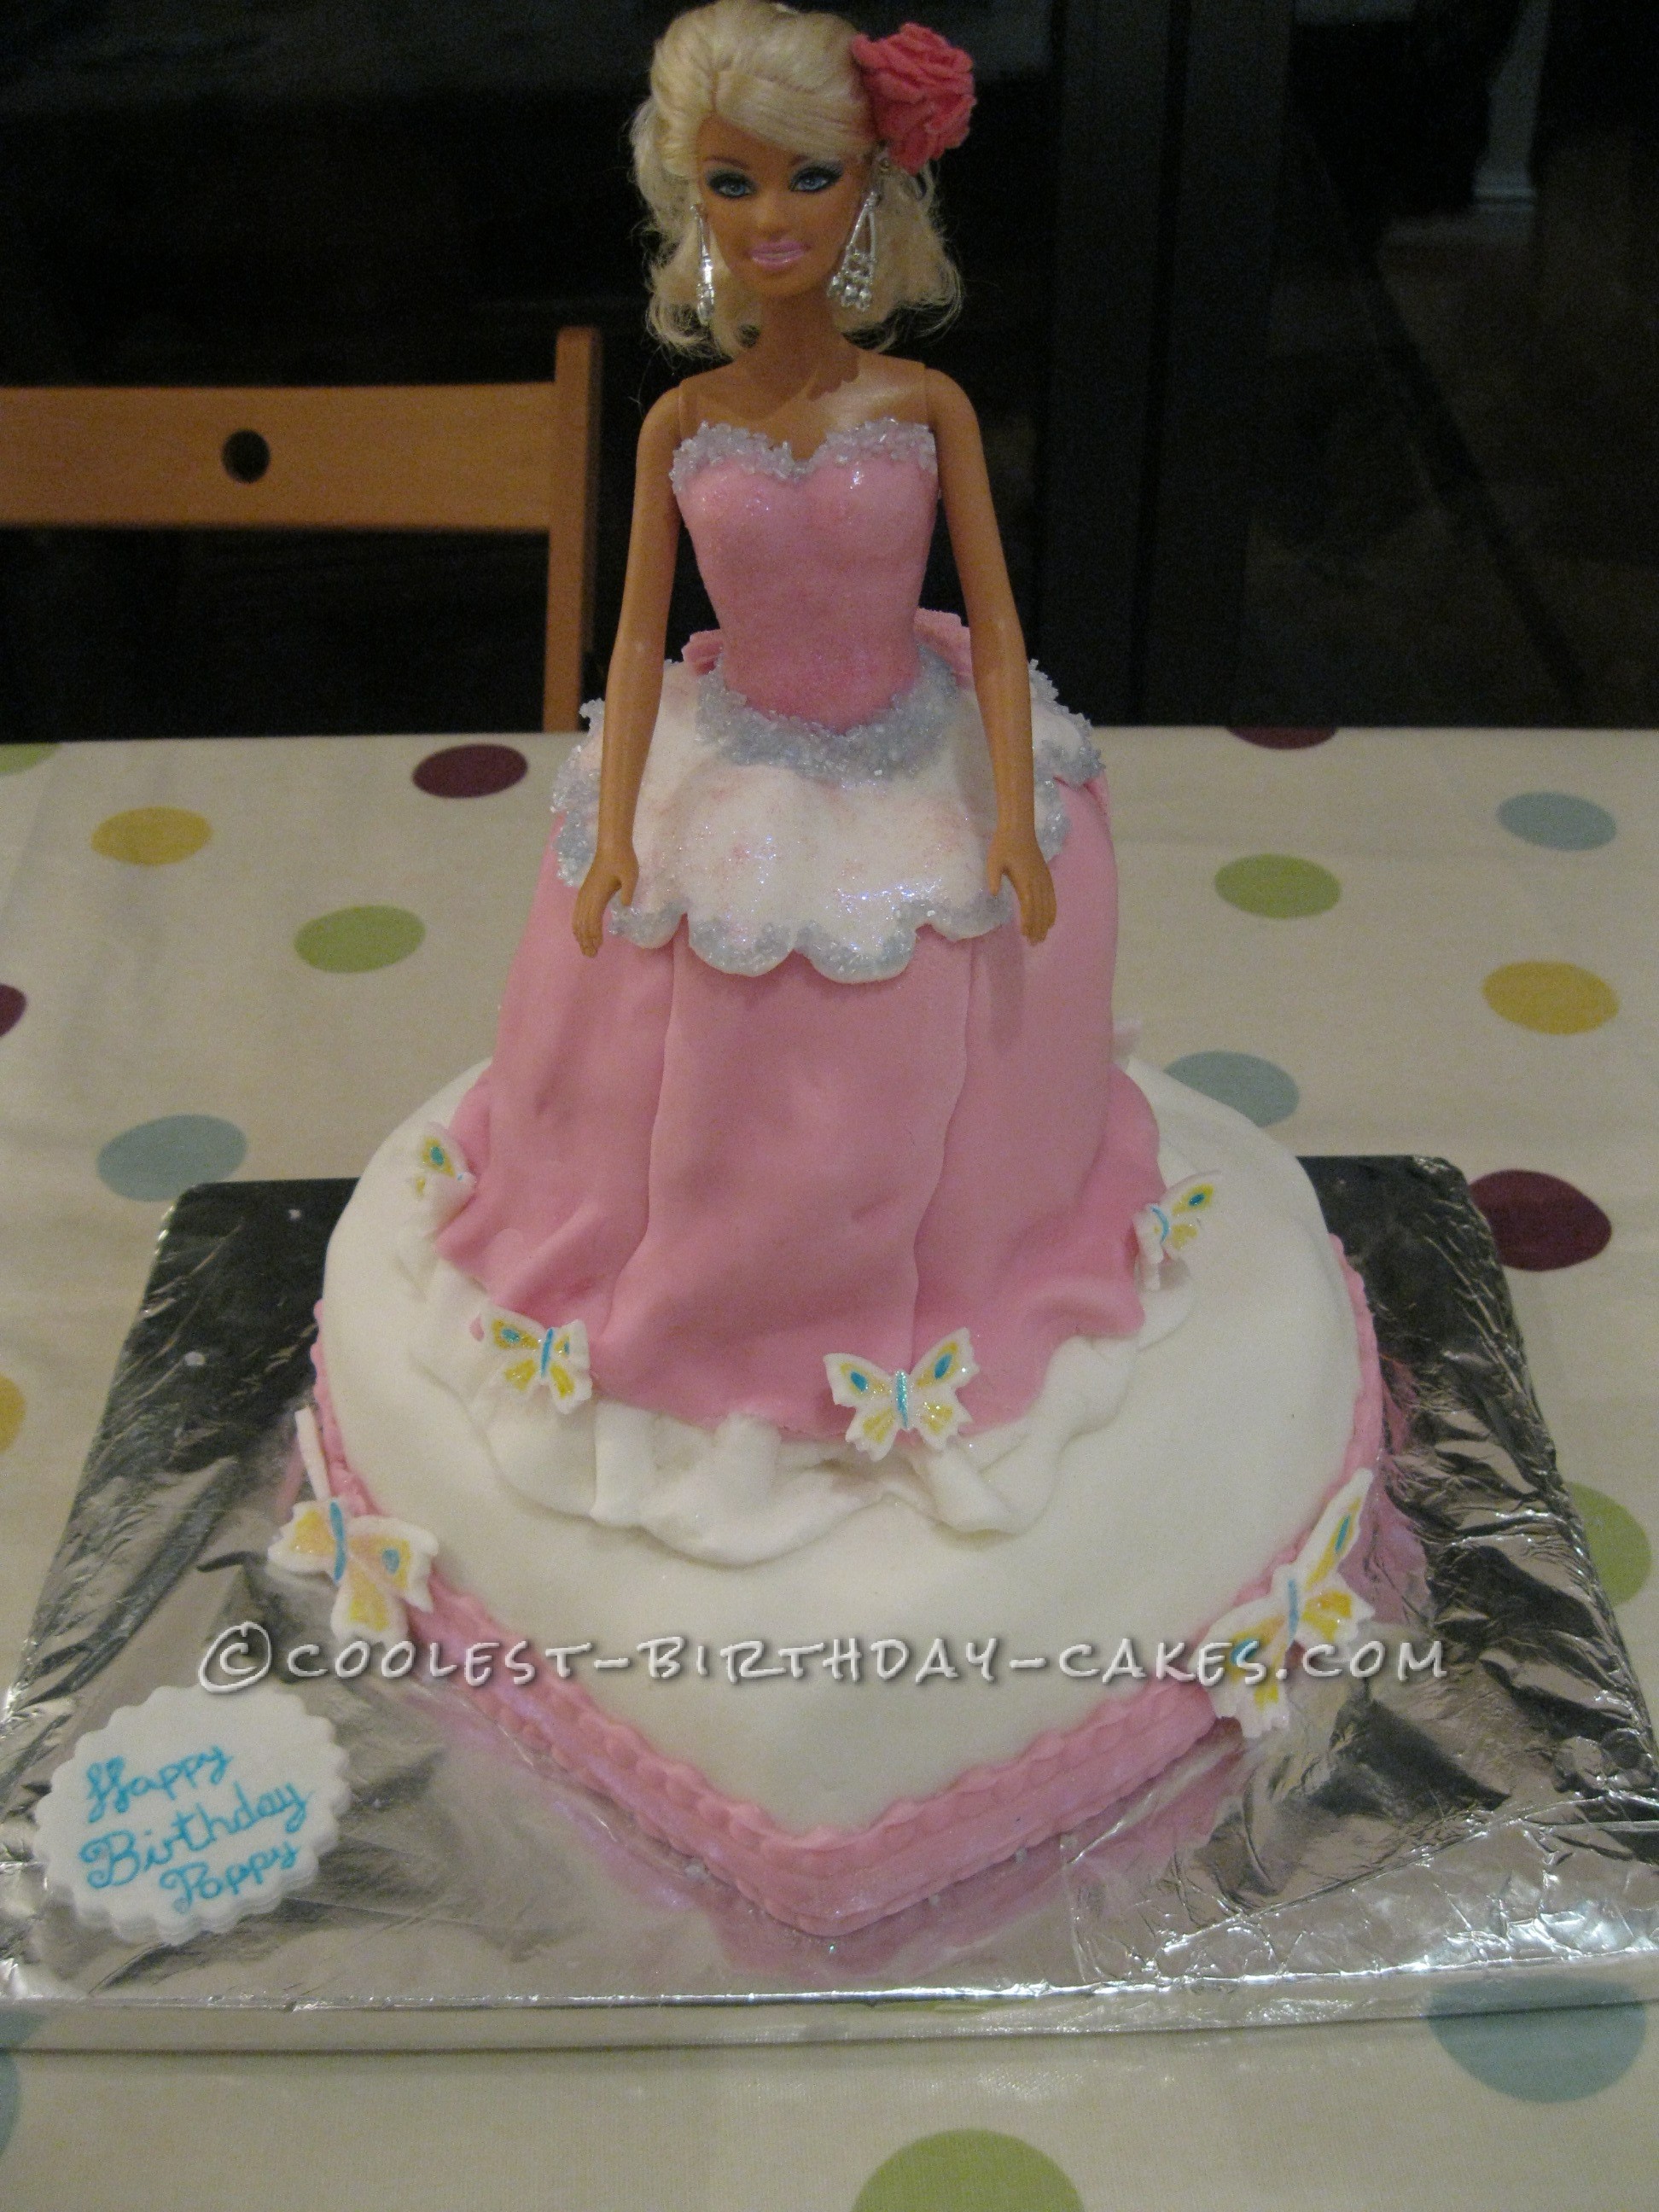
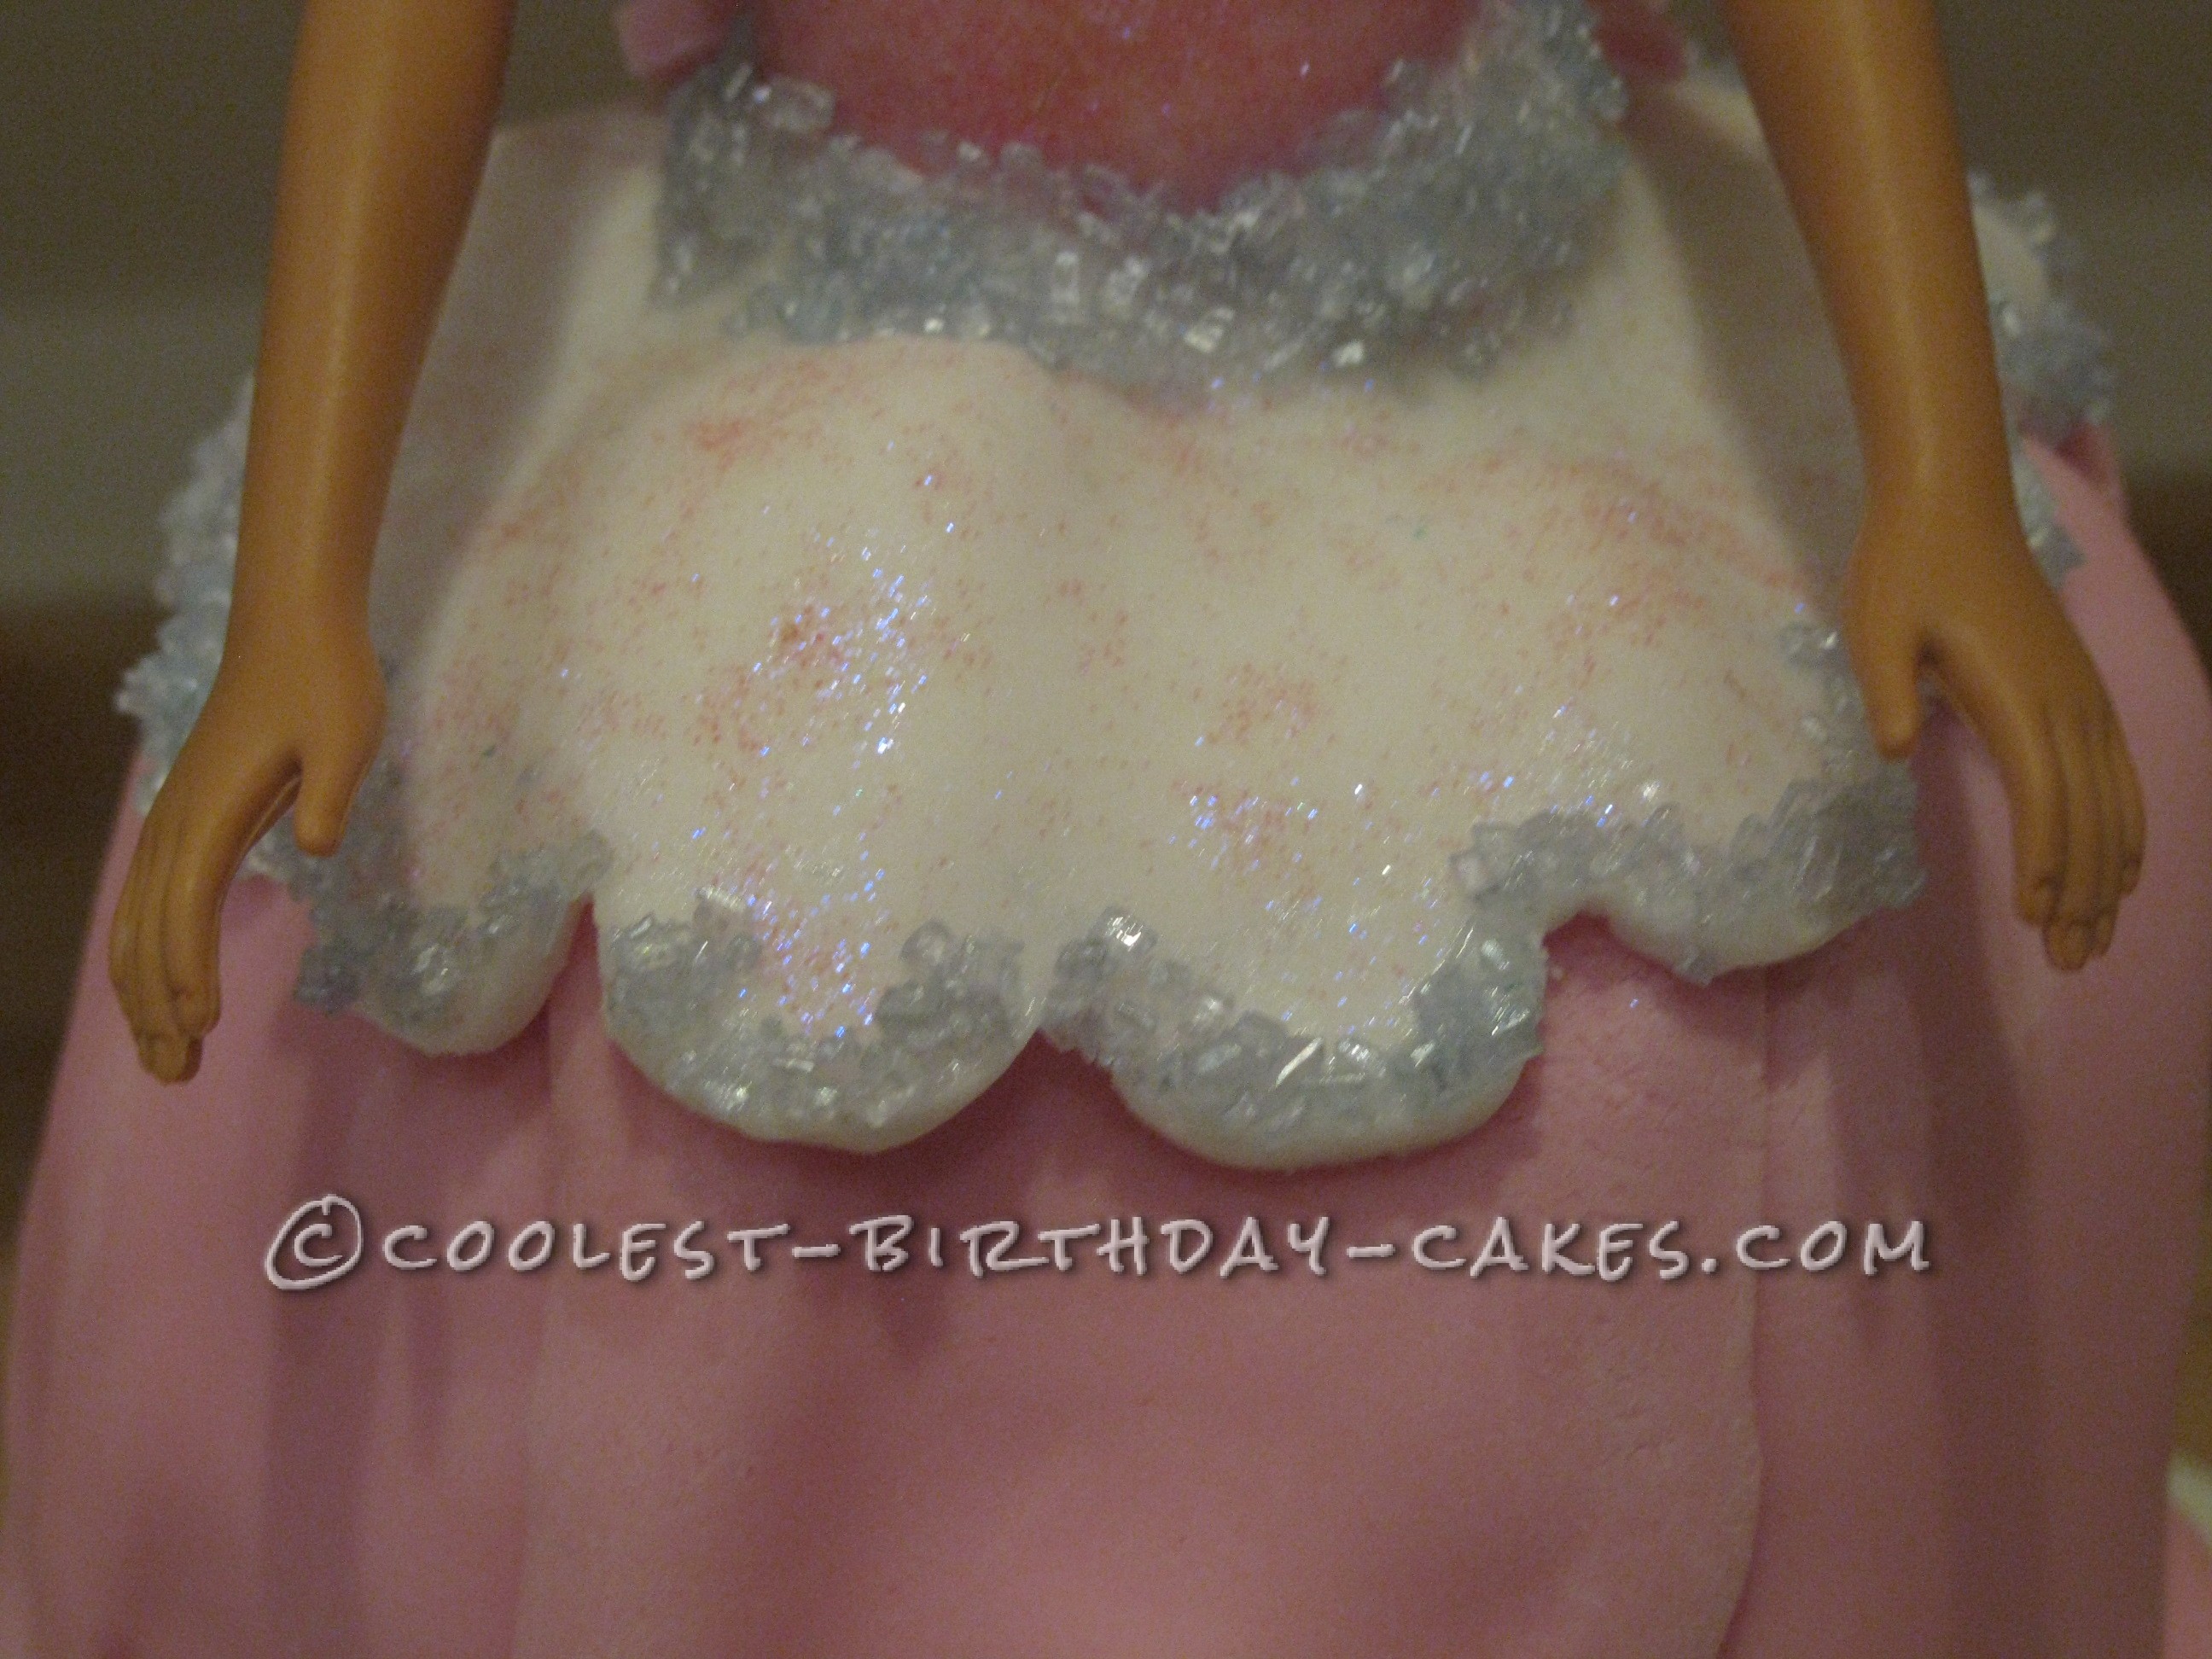
Next, using edible glue I stuck on the crystals. This was a real labor of love as they fell off as quickly as they were applied and needed a few coats. A white frill around the middle his the join between the skirt and the doll. The last bit was making and decorating the butterflies and sticking them on with the edible glue. I also used a roller to make a pink sugar paste ribbon to wrap around the heart which I stuck on with the edible glue.
Finally, I deemed my creation complete and beckoned my banished family in to take a look. Little one was over the moon with the cake, she couldn’t stop looking at it and couldn’t believe we were going to eat it. I must say I was amazed at how well this cake turned out on my very first attempt, which only goes to show just how easy it was to do with a little time and patience. Hope you like it too.

Your comment has been sent successfully.