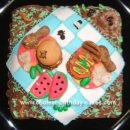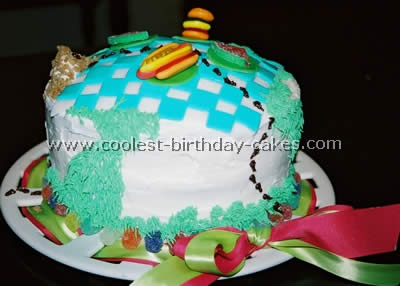
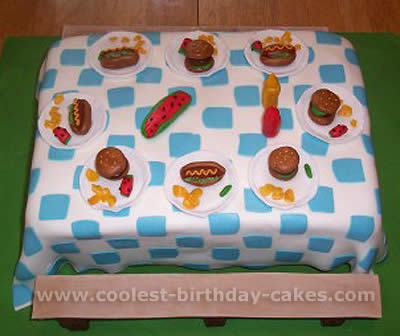
I’m always thinking up original ideas for how to decorate cakes. I made this cake for my twins’ Second Birthday Picnic. It is a three-layer nine-inch round cake first frosted with white butter cream icing. The “picnic blanket” is a large square made of white rolled fondant. I then kneaded in turquoise food coloring and cut more rolled fondant into squares with a ruler and attached to the white to create the check pattern.
The “plates” are also made of rolled colored fondant. The hamburger, hot dog and watermelon are “gummy” candy that I found on this fun website on how to decorate cakes.
After placing the picnic blanket and food onto the top of the cake I made an “ant hill” with a mound of icing covered with Grape Nuts cereal. The ants are piped on with brown icing. I finished the cake by piping on green icing with a grass attachment. Small gumdrops around the bottom add a little more color.
More Picnic Table Cakes
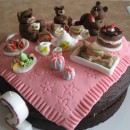
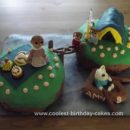
Cake by Michelle K., Ambler, PA
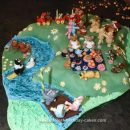
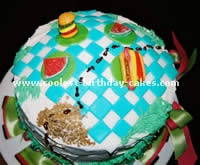
Cake by Shayla T., West Jordan, UT
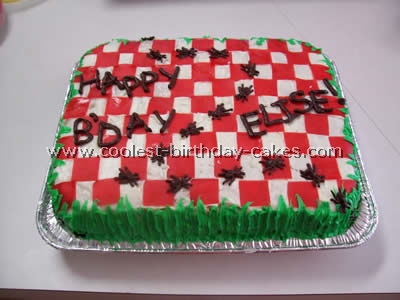
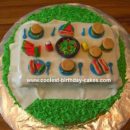
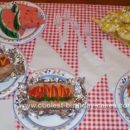
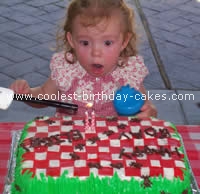
For my daughter’s second birthday party we had a picnic in the park. The cake went along with the picnic theme with ants marching across a red-and-white checkered picnic blanket.
Here are a few tips for how to decorate cakes like these: Place squares of strawberry fruit-by-the-foot over white frosting made the checkered pattern.
I came up with the idea because I didn’t want to deal with making red frosting. To me it’s such a hassle to tint and tends to stain everything.
The “grass” on the side of the cake is green frosting piped on with a leaf tip. The ants and letters were made with melted chocolate chips and a little trick that made it really easy. Using a Ziploc baggie with the corner snipped off I piped them all on wax paper instead of doing them freehand directly on the cake. Then I just cooled them in the fridge before peeling them off and placing them on the cake.
The ants are marching in the shape of a number “2” for my daughter’s age.
This cake was a hit and it was very easy to do.