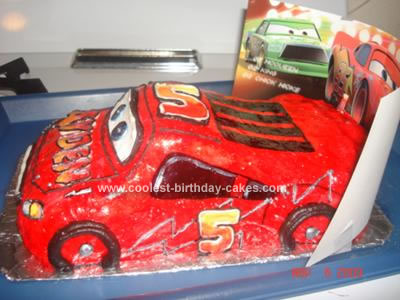
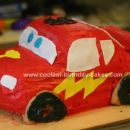
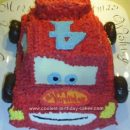
I baked white cake using Wilton’s 3D cruiser pan and cut the top back of the roof and cut the bottom of the front so it would be shaped more like Disney’s LMQ car. I frosted the Homemade Lightning McQueen Birthday Cake with butter cream icing prior to placing rolled MM fondant.
I then painted red food coloring all over it using a brush (the red color darkens as it drys); then I used fondant for the eyes and wind shield. I piped some of the details on (using royal icing and Wilton’s tip #3) and or painted it with black food coloring. I also used silver pearl dust (thinned with vinegar) and painted that on the parts I wanted to bling (including the eyes and name).
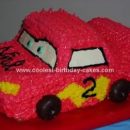
For the tires, I used Wilton’s tip #10 and also for the hub-cap. If you notice the sticks- behind the wing/spoiler it’s because the spoiler got too heavy and started to collapse and I didn’t want the cake to crack and totally fall apart- so to save all my hard work, I used a mini-poster to help hide the rear-bumper.
As for the number “5” instead of “95” I piped it out using tip 10 and then painted yellow and red (blending them together). I also used that technique for my son’s name. I decided since I was having trouble with the fondant, I just piped out the lightning and painted silver pearl dust on them as well. Using MM Fondant- wasn’t easy because it’s so much thinner than store bought fondant & it also wasn’t smooth.
If anyone has any tips on how to make Marshmallow fondant better- please comment. Thanks!

Your comment has been sent successfully.