I started this Homemade Pug Dog Cake by baking a 9” x 13” x 2” cake. I wasn’t sure what mixture to use so I used the mixture for a 8” round lemon Madeira cake recipe twice. The recipe I used is below:
12 oz self raising flour
10oz caster sugar
10oz soft margarine
5 eggs
3tbs lemon juice
grated rind of 1 lemon
Add all ingredients together except the lemon juice and mix well making sure all ingredients are mixed well for about a minute then add the lemon juice and mix on a higher speed for about 1 minute. Transfer to the lined baking tray then mix the other cake and add this to the baking tray and level off. Place in the middle of the preheated oven gas mark 2 cook for about 2 ½ hours until a tooth pick comes out clean. Leave in tin for 5 min and then transfer to a cooling rack.
I also had to cook a 6” lemon Madeira cake but baked it in a 2pt pudding basin. Make sure you line the pudding bowl so you can release the cake easily, this was all mixed up in the same way as above but with different amounts of ingredients. I left these over night to cool.
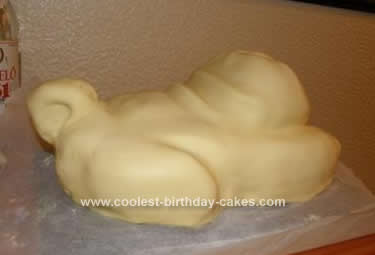
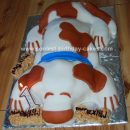
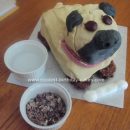
I then butter creamed the middle of the two cakes and butter creamed the pudding cake to the other one ( if you read below it explains more). Then to make the shape of the dog the pudding bowl cake was placed at the front edge of the larger cake on the one short end, then I had to cut the paw shapes in by cutting a small semi-circle out of the larger cake just underneath the pudding cake, the pudding cake is the pug’s head, then I shaped the back end of the cake to form the back of the dog. The head was then carved downwards towards the back of the dog. I did have to sandwich some of the off cuts of the cake to build up the back of the dog. I also had to cut a circle out of off cut cake to make the curly tail.
I then butter creamed all over the cake making sure it was all smooth and placed in the fridge to chill for about 1 hour. Meanwhile I coloured some icing in cream. I coloured 2 x 1kg blocks of ready roll out icing. This was plenty to cover the whole cake. This was placed in a plastic bag so it didn’t dry out.
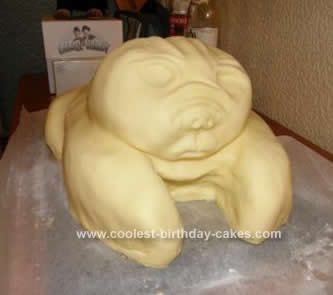
When the cake was chilled I started to form the creases of skin. I did this by rolling some icing into thin sausage shapes. These were placed on the cake where I wanted the creases to be, so when I iced the cake the rolls will form. Then I rolled out the icing so it was big enough to cover the whole cake. I made a slit in the icing where the tail was going to be and started to place the icing onto the cake placing the slit in the icing around the tail and then continued to smooth it over the dog pressing into the icing to form the rolls of skin. I used modelling tools to form the shape in the face omitting the ears these are put on last.
Then I cut off any excess icing and rolled out another small piece to cover the tail and then I smoothed it around the surface so you couldn’t see the join again with modelling tools. I gave the tail definitions to make it look curly. The cake was left over night to harden slightly.
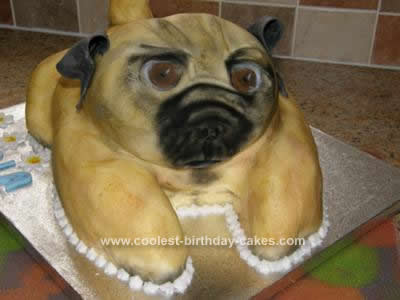
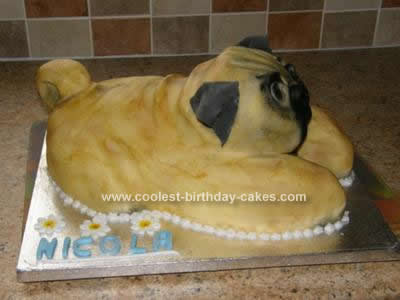
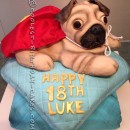
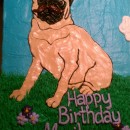
I used coloured powder in black to give the face shape and coloured the rest of the coat in cream colour paste with a little water and sponged this over the cake. I then pipe iced with royal icing all around the cake and added a few flowers and my daughters name to the board.
Last of all I made the ears with flower paste icing. This dries hard and you can sculpt it better than roll out icing. I firstly coloured it black, rolled it out thinly and cut out two triangles and slightly bent them and attached them to the cake with a little water.
My daughter has a pug dog who she loves very much and I just knew she would love this Homemade Pug Dog Cake.

Your comment has been sent successfully.