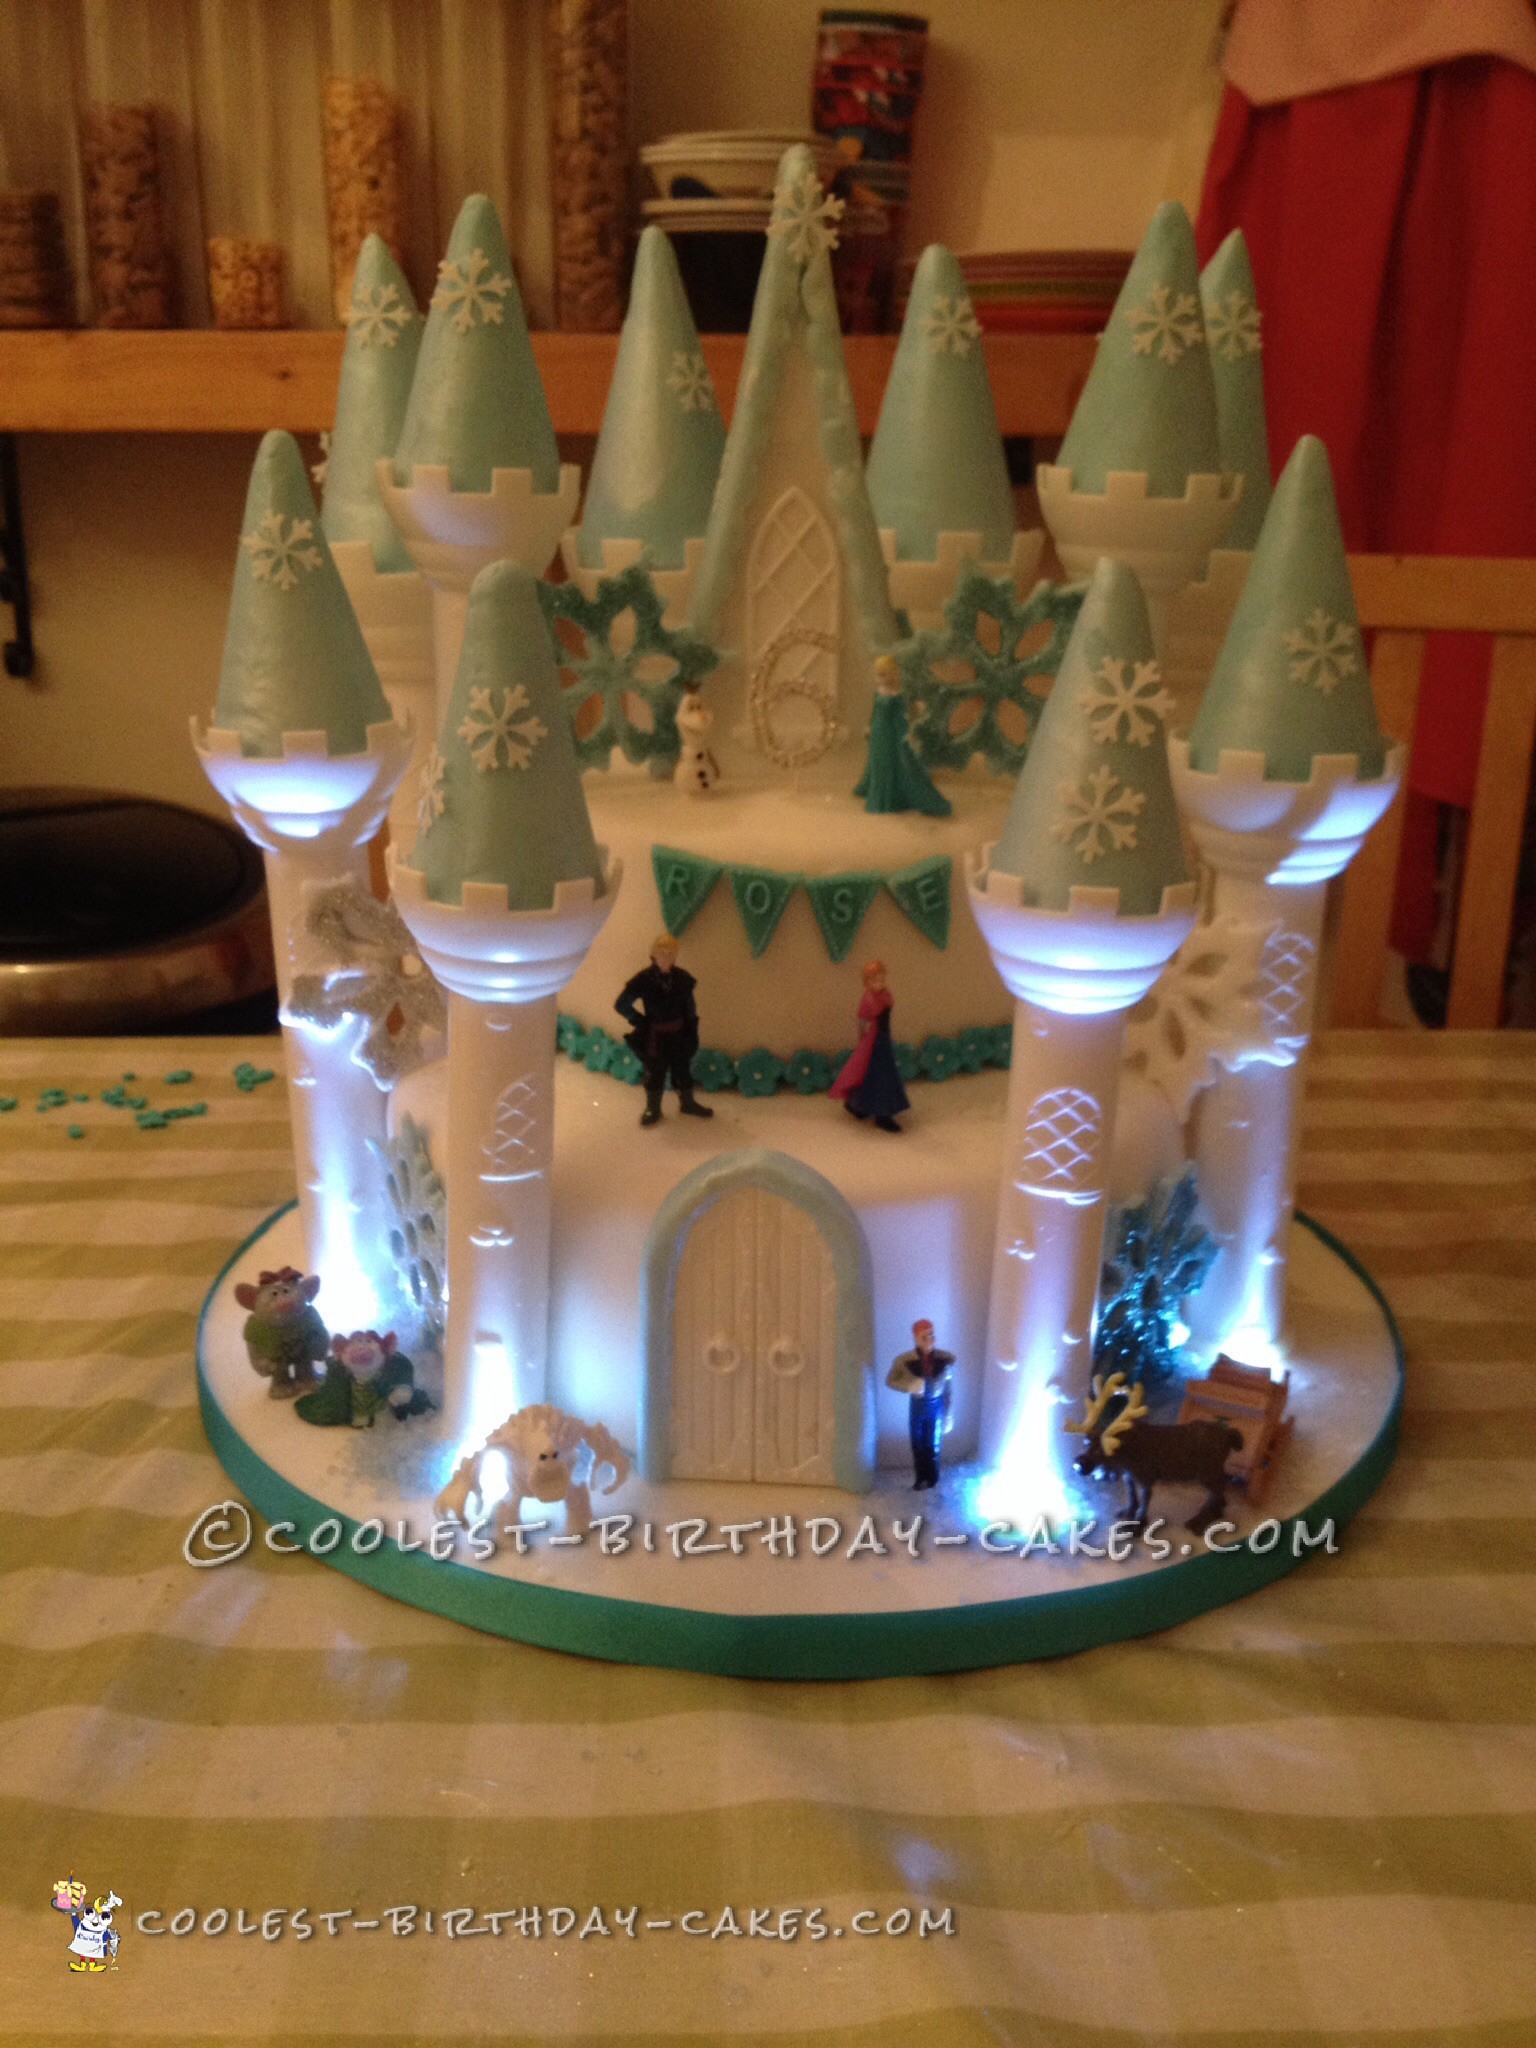
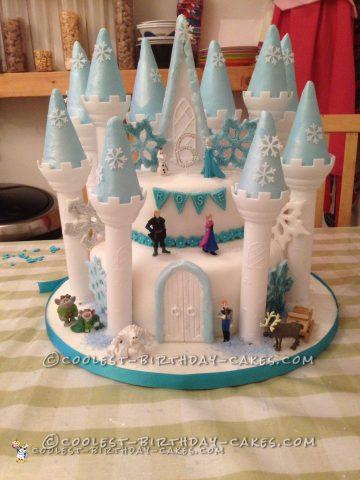
This castle cake was really straight forward to do. I initially baked a 6″ round cake and a 10″ round cake and covered them both with white fondant. I placed the 10″ cake on a board, inserted some dowels for support, and stacked the 6″ cake on top.
Next, I used the Wilton castle set, in which, it provides a template for the fondant needed to cover the turrets (this also applies to the door and main tower on the centre of the cake). I covered my turrets and then sprayed them with an edible silver spray to give them a bit of sparkle. I used royal icing to set the towers where I wanted them and then again, used royal icing to stick my turrets to the towers.
To decorate, I used a snowflake cookie cutter and cut out snowflakes from fondant and then dusted them within edible glitter. I used a bunting silicone mould for the name and stuck mini flowers around the bottom of the top cake to hide the seam. I used some Frozen figurines and placed them in the cake, and used blue sparkles scattered at the bottom of the cake. The tiny white snowflakes are made from rice paper that I purchase online. That is basically it – really straightforward but really effective.
I did try to be slightly innovative with this cake by putting mini led lights in my cake board. We brought four white led lights. My husband drilled 4 x 6 mm holes into the drum. He secured the lights in the board then jointed all cables into a joint box and fitted the wires to the base of the board.To power the lights we just attached a 9 volt battery and voila! If the battery was permanently connected it would get approximately 8 hours of battery life, but I just connected the battery as and when we needed it.
The cake was an absolute hit, and I have to say, it’s probably one of my favorites that I have made!
Related cakes:
 12+ Coolest Castle Cake Ideas – Awesome Homemade Castle Cake Designs!
  12+ Coolest Frozen Birthday Cake Ideas for the Ultimate Frozen Theme Party
  12+ Original Homemade Princess Castle Cake Ideas
  12+ Coolest Disney Princess Cake Ideas – Awesome DIY Cake Decorating!
 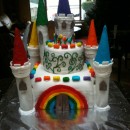 Fabulous, Built-to-Travel, Rainbow Castle Cake
 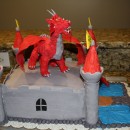 Breathtaking Homemade Dragon and Castle Cake
 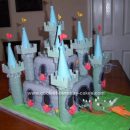 Coolest Medieval Castle and Dragon Cake Design
 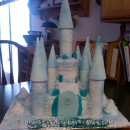 Coolest Castle Cake Inspired by the Disney Movie Frozen