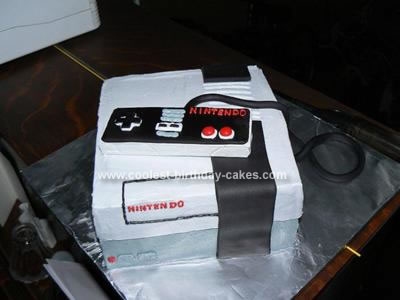
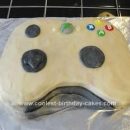
This Nintendo Cake was a labor of love! I started with a basic 8″ square chocolate cake. Easy part done! I then frosted the bottom half with dark gray buttercream, the top with light gray and let is sit for several hours. (I added a second layer of light gray later to get the effect and appearance of hanging over the edge a bit and again let it dry for a time.)
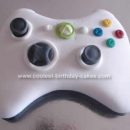
I then started work on the controller. I melted white chocolate chips mixed with black food coloring gel to get the light gray base. I used a clean cardboard lid lined with foil, and poured the homemade mold. I stuck it in the freezer to assure it was rock hard and popped it out with ease after 4 hours. Set this aside for now and start rolling fondant.
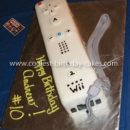
I purchased black fondant because it requires a lot of coloring to get it this dark. I rolled a very long piece and cut to fit with a ruler as a guide leaving a space between the fondant for the “air vent”. For this I used a wooden spatula after the buttercream had dried to dent the rectangles in the top between the fondant strips. Then make a long rolled “cord” about 15″ long, but that length will vary depending on where you place the controller (not being a gamer I didn’t know that a real Nintendo controller plug is in the front). I rolled out a fondant rectangle about the same size as the controller and rounded the edges and placed on top if the white chocolate (I did wet the back of the fondant to adhere to the chocolate).
I finished off the details with red buttercream and red hot buttons. I did use for the “Nintendo” name those red sprinkles so to have very straight and uniform lettering. If you have a steady hand you can just letter all of it. More than 10 hours from start to finish a classic Nintendo cake!


Your comment has been sent successfully.