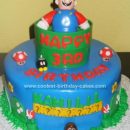
This was my first “fancy” cake. My son was turning 13 and he loves video games so I thought I would surprise him with a Super Mario cake. Since it was a surprise, most of the fondant work was done at night after he went to bed. My husband thought this would never end, and I’ll admit, it WAS exhausting to do it this way, but it was worth it to keep it a surprise. I started a couple weeks ahead of time making the fondant figures so that I wouldn’t have to rush. I kept them in the refrigerator in an airtight container and they did just fine.
I had some trouble at first and here are the two things about fondant I would like to pass on to other beginners. First, use gum paste (a funky tasting powder) in your fondant. Well, if you want your characters to look like they have melted into a short fat blob, then don’t bother, but using the gum paste mixed in with the fondant makes it set up better and hold shape. Second, the hardest part was getting the fondant coloring just perfect. I had made a huge batch of white fondant and then my poor husband had to work in the colors for me by kneading them into the fondant…rookie mistake (and a huge shout out to my lovely assistant for his help)! What I’ve since figured out is that if you put the food coloring in as you are making the fondant, its super easy. It takes a few more bowls to mix more colors, but it’s worth the extra dishes.
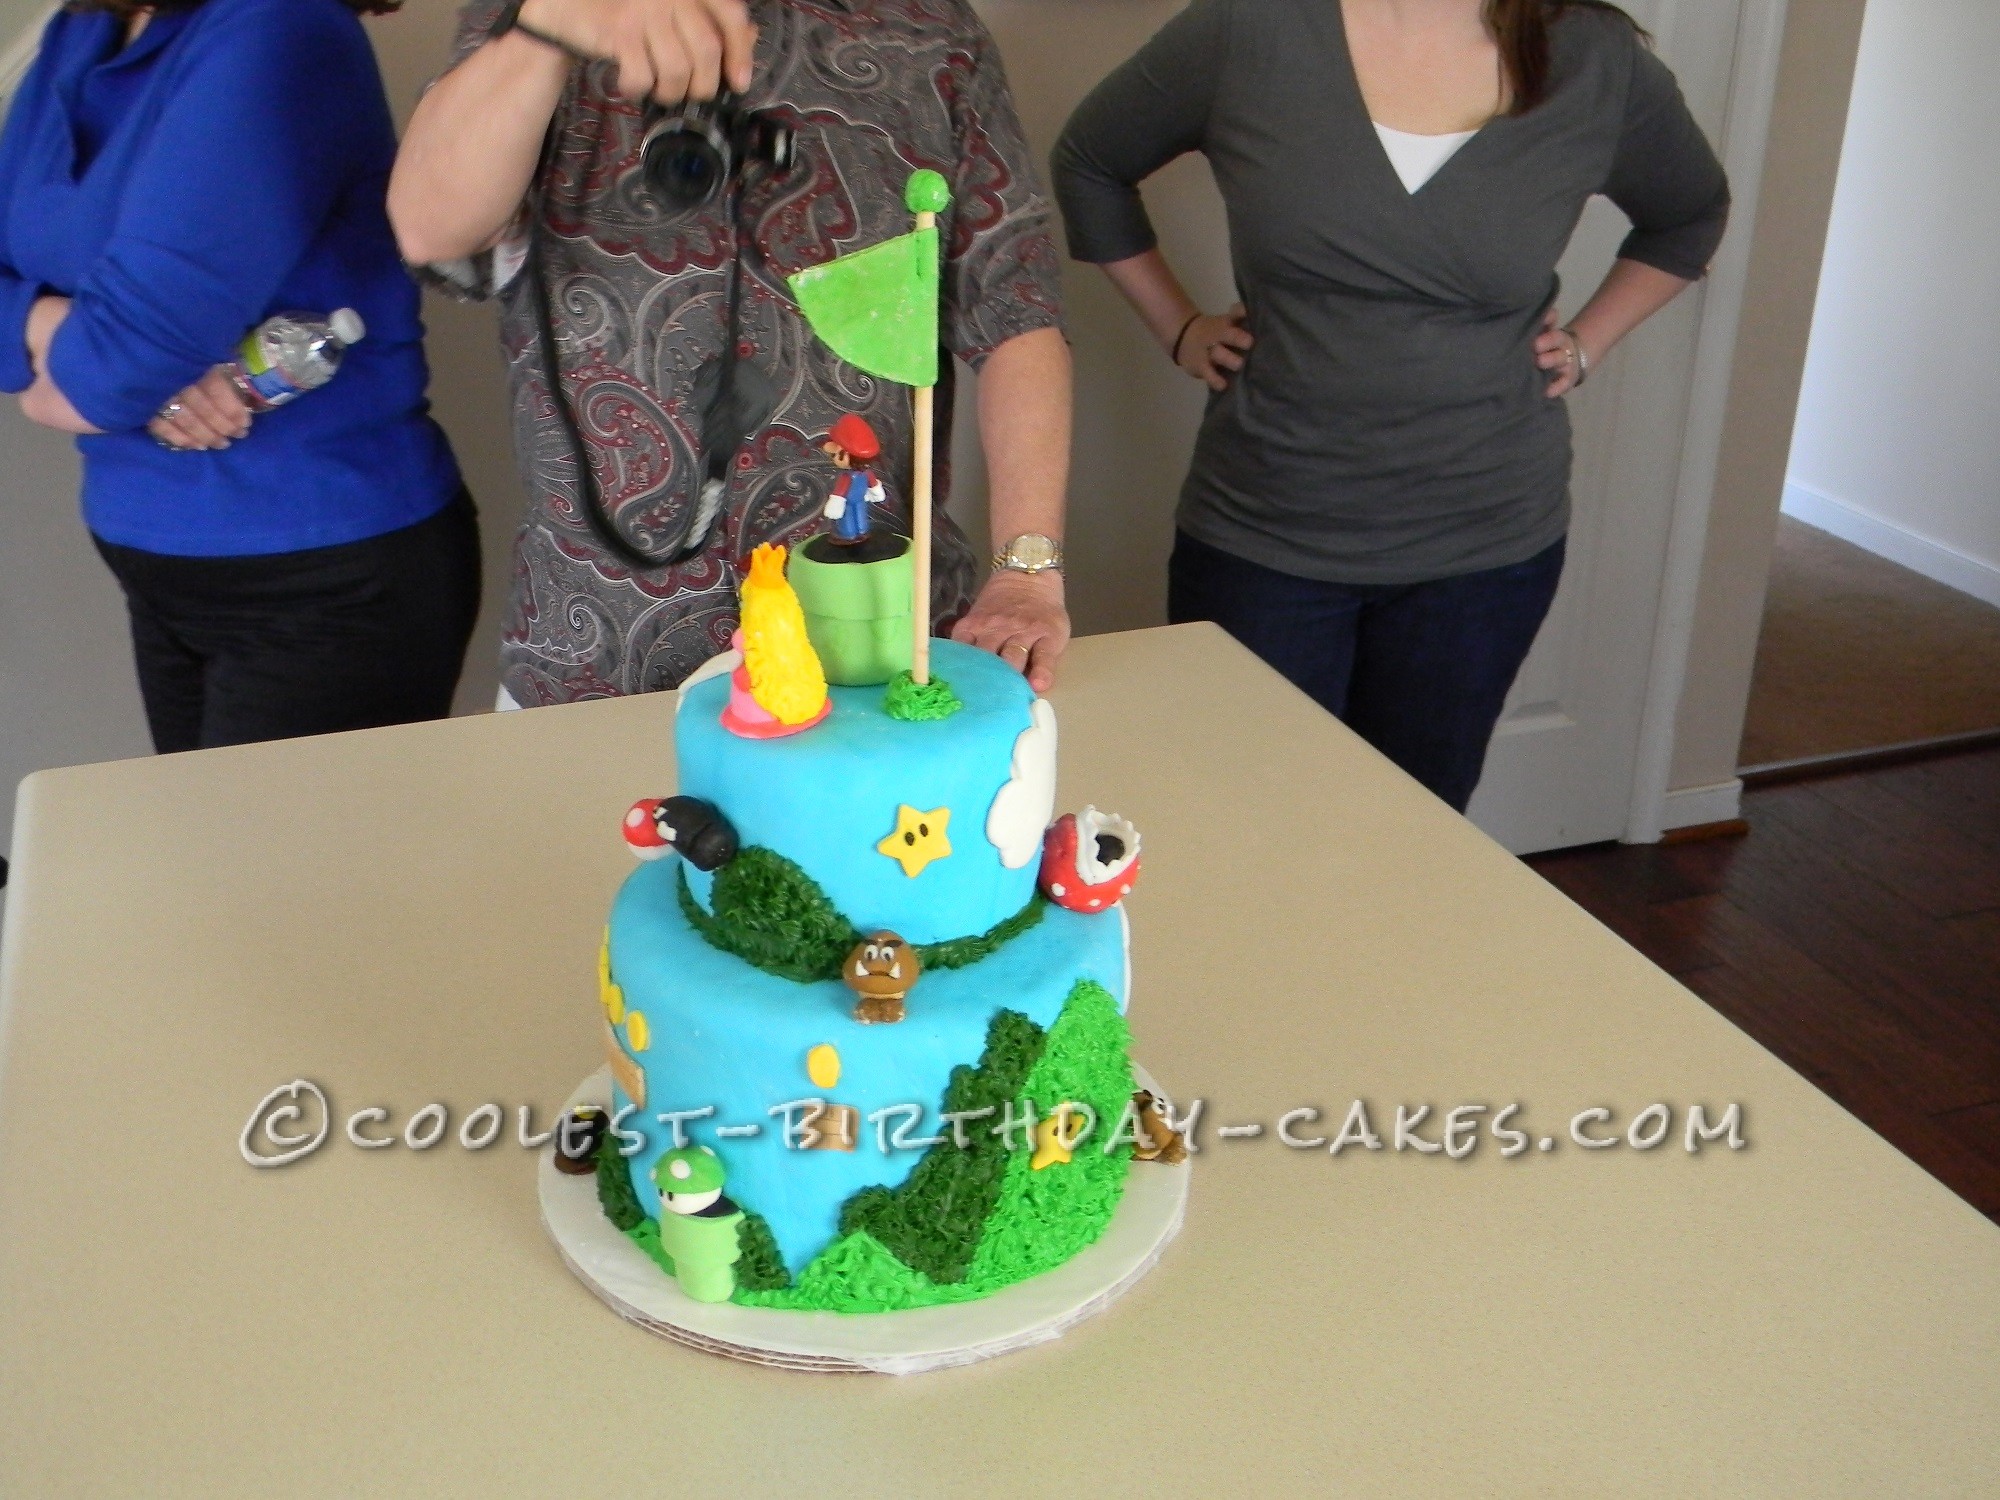
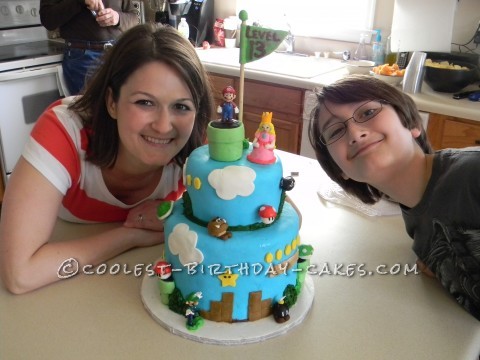
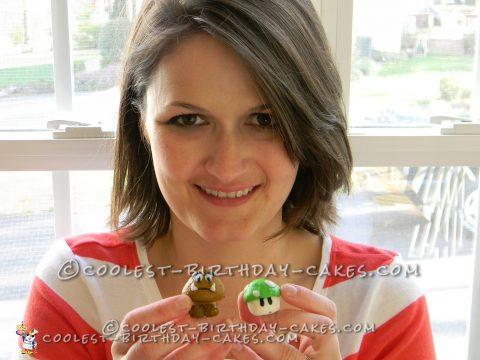
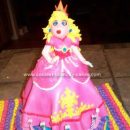
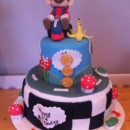
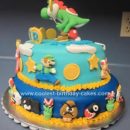
I made the following figures out of fondant: Bullet Bill, goombas, a turtle shell, the red flower with the teeth, the bomb guy, red and green mushrooms, and at the request of my daughter, Princess Peach. I also made clouds, coins, bricks, stars, regular pipes, and then the supersize pipe for the top. For the pipes, you can actually get 2 for 1 because I made one and then cut it in half. I guess I did ‘cheat’ and use plastic Mario and Luigi figures, but since this was my first time I say “cut me some slack”! Princess Peach was hard enough and I used eleventy bajillion toothpicks to hold her together (give or take). (Side note: please remember this fact when you happily let your daughter eat the beloved Princess Peach character.)
For the sizing of the cake, I knew I wanted each tier to be tall so that I could really show detail of the ‘game’. It needed to be tall enough to have some mountains, pipes, and bricks and coins in the air, so I decided on 3 layers for each tier. The bottom tier is 10″ and the top tier is 8″, and I used deep pans for each layer as well. There are four wooden dowels inserted into the bottom tier for support, and then I used a cardboard 8″ circle under the top tier. It was a HEAVY cake, so be prepared for that. You may be able to tell from the picture, but as a base to hold it all I taped together three cardboard circles. One will not suffice!
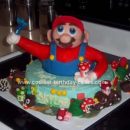
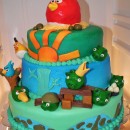
After the cakes were baked, I let them sit in the refrigerator for 24 hours before icing with butter cream. This will make the icing process go easier with fewer crumbs. A word to the wise….do NOT use chocolate butter cream to ice the cakes if you plan to cover them in fondant, unless you are a master at getting the fondant covering on all in one piece. All I will say on the matter is that I was not so wise. This was my first attempt at using fondant, so if you look closely you can tell that the application isn’t perfect and there are some dips and wrinkles, but I don’t think I did horribly. In fact, where I did mess up and there was a big tear in the bottom tier, I think I hid it quite well. Step 1, I made that the back of the cake and step 2, I used butter cream green frosting with a star tip and created a grassy knoll (OK, more of a ginormous mountain) like those seen in the video game.
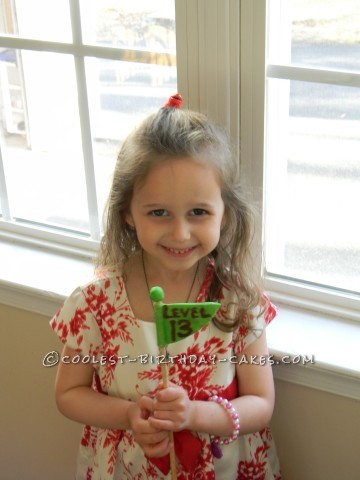
The last step was to put all the decorations on, and this was the most fun part. I used the clouds to cover the fondant screw ups and worked from there, trying to space everything out. The two dimensional decorations went on fine with icing “glue” and for the figures I used toothpicks to attach them to the sides of the cake. Oh, and I almost forgot the best part! The “Level 13” flag at the top is made from a leftover support dowel with fondant wrapped around it. To get it to hold the shape, I had to use TONS of gum paste but it was still sagging, so I froze it until right before the party. You can write whatever you want on the flag, but I liked putting “level” and then his age. He was over the moon, and that’s the REAL best part!
Thanks for listening to my story.
Your comment has been sent successfully.